Is your kitchen sink leaking and causing you stress? A dripping sink might seem small, but it can waste water, increase your bills, and even damage your cabinets if left unchecked.
The good news is, you don’t need to call a plumber right away. With a few simple steps, you can fix the leak yourself and save time and money. You’ll discover easy-to-follow tips that anyone can use, even if you’re not a DIY expert.
Keep reading, and by the end, you’ll feel confident handling that pesky leak once and for all.

Credit: www.wikihow.com
Contents
Identify The Leak Source
Finding the source of a leak in your kitchen sink is the first step to fix it. Leaks can come from different parts of the sink. Knowing where the water is coming from helps you fix the problem faster. This section explains how to identify the leak source clearly and easily.
Check Faucet And Handles
Look closely at the faucet and handles. Turn the handles on and off. Notice if water drips or pools around them. Tighten any loose parts. Replace worn-out washers or seals. These spots often cause leaks.
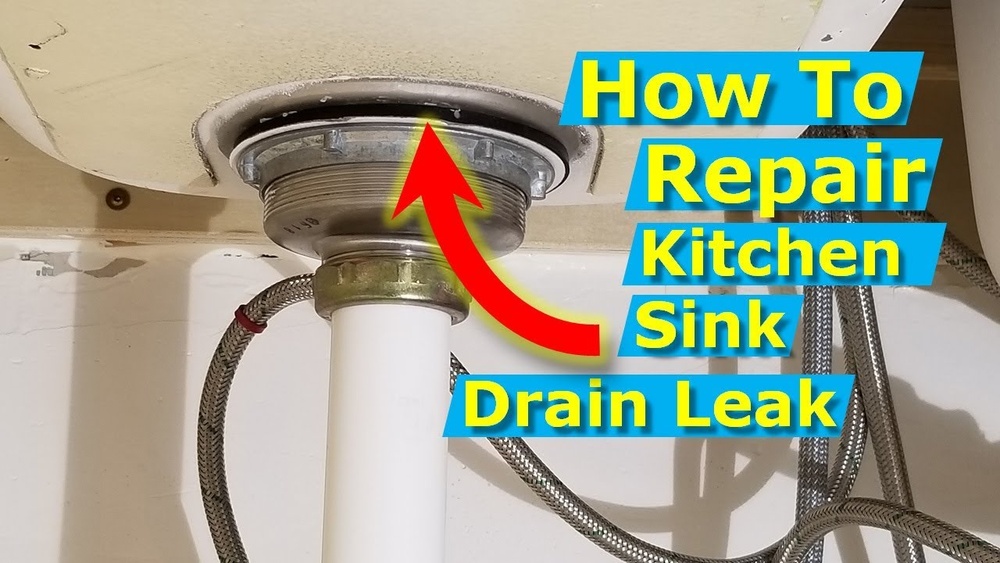
Inspect Sink Drain
Check around the drain area under the sink. Look for water puddles or damp spots. Tighten the drain flange if it feels loose. Old plumber’s putty may need replacing. A leaking drain can cause water damage below the sink.
Examine Supply Lines
Look at the water supply lines under the sink. Check for cracks, rust, or wet spots. Tighten the connections with a wrench. Replace damaged or old supply lines. These lines carry water to your faucet and often cause leaks.
Gather Necessary Tools
Fixing a leaking kitchen sink starts with gathering the right tools. Having everything ready saves time and avoids frustration. It helps you fix the leak faster and better.
Essential Tools List
First, get a wrench set for loosening nuts and bolts. A basin wrench works well in tight spaces under the sink. Use a screwdriver, both flathead and Phillips, for screws. A bucket helps catch water from the pipes. Keep some old towels nearby to clean spills. Plumber’s tape seals pipe threads to stop leaks. A flashlight lights up dark areas under the sink. Lastly, have some gloves to protect your hands.
Choosing Replacement Parts
Identify the exact part causing the leak. It may be a washer, an O-ring, or a pipe section. Take the old part to the store for a perfect match. Choose parts made from durable materials like rubber or stainless steel. Avoid cheap parts that wear out quickly. Buying the right size prevents future leaks. Keep extra washers and O-rings for quick fixes later.
Turn Off Water Supply
Before fixing a leaking kitchen sink, turn off the water supply. This step stops water flow and prevents flooding. It keeps the repair area dry and safe. Knowing how to turn off the water helps avoid damage to your home.
Locate Shutoff Valves
Look under the kitchen sink to find the shutoff valves. Usually, there are two valves: one for hot water and one for cold water. They are small handles attached to pipes. Turn these valves clockwise to close them. If you cannot find them, check near the water meter or main water line.
Verify Water Is Off
After closing the valves, check if the water is off. Turn on the kitchen faucet slowly. No water should come out. If water still flows, the valves might be faulty or not fully closed. Try turning the valves again or shut off the main water supply in your house. Confirming the water is off is crucial before starting repairs.
Fix Faucet Leaks
Fixing a leaking faucet saves water and stops annoying drips. Most leaks happen because small parts inside the faucet wear out or get loose. Fixing these issues is simple and does not need special tools. Follow these easy steps to stop the leak and keep your kitchen sink working well.
Replace O-rings And Washers
O-rings and washers create a seal to stop water from leaking. Over time, they can wear out or break. Turn off the water supply before starting. Remove the faucet handle carefully. Find the O-rings and washers inside the faucet. Take them out and replace them with new ones of the same size. Put everything back and check if the leak stops.
Tighten Loose Parts
Loose parts can cause water to drip from the faucet. Use a wrench or screwdriver to tighten screws and nuts. Check the faucet handle, spout, and base. Do not overtighten, or you may cause damage. After tightening, turn the water on and watch for leaks. Tightening often fixes small drips quickly.
Clean Faucet Components
Dirt and mineral buildup can cause leaks and poor water flow. Remove the faucet parts carefully. Soak them in vinegar or a gentle cleaner to remove deposits. Use a soft brush to scrub away any dirt. Rinse parts well and dry before putting them back. Clean parts help the faucet work smoothly and stop leaks.
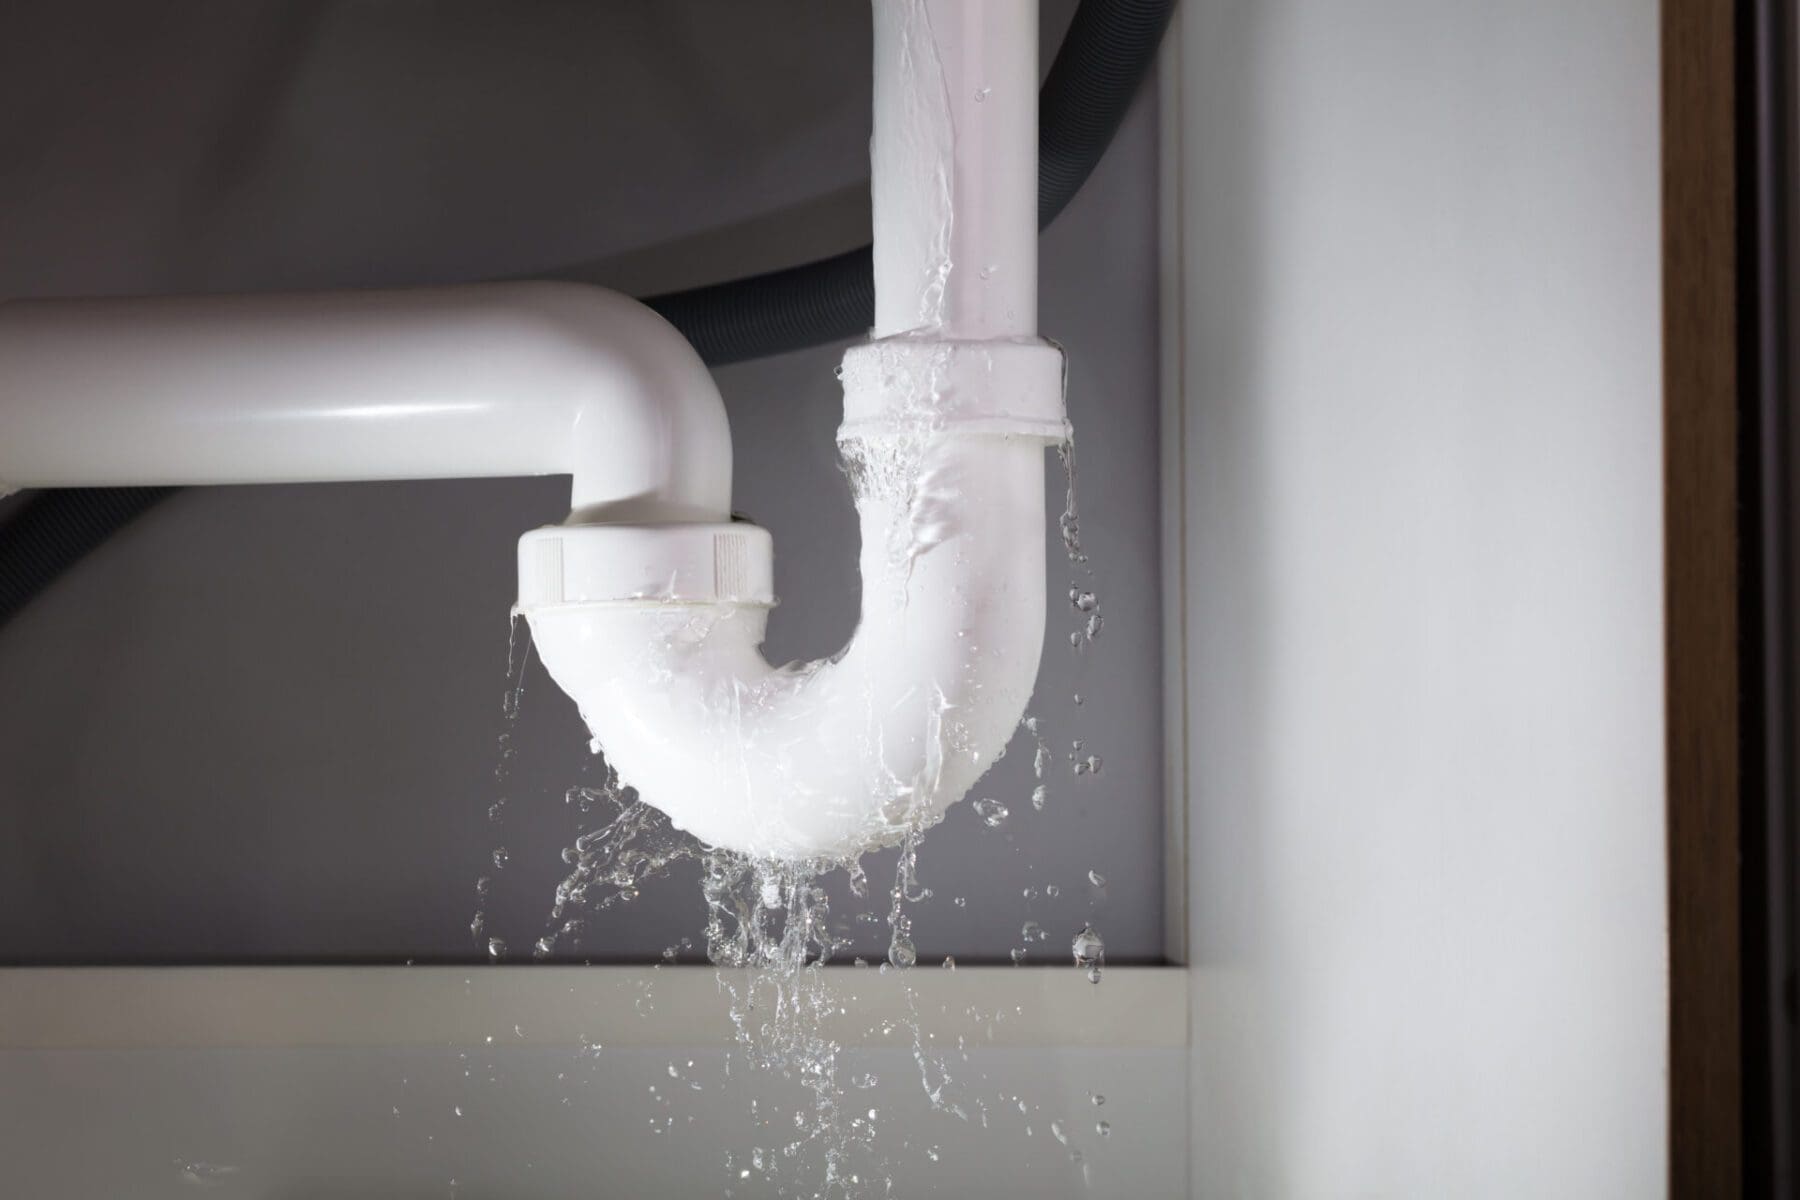
Repair Drain Leaks
Fixing a leaking kitchen sink drain is a common and manageable task. Drain leaks often happen because of worn gaskets, loose connections, or poor sealing. Repairing these leaks stops water damage and keeps your kitchen clean and dry.
Replace Sink Drain Gasket
The sink drain gasket seals the drain pipe to the sink. Over time, it can wear out or crack. Remove the drain pipe carefully. Take out the old gasket and clean the area well. Fit a new gasket in place. Tighten the drain pipe back on. This often stops the leak quickly.
Seal With Plumber’s Putty
Plumber’s putty creates a waterproof seal around the drain. Remove the drain flange from the sink. Roll plumber’s putty into a rope shape. Apply it under the drain flange. Press the flange firmly back into the sink. Wipe off extra putty. This seals gaps and prevents leaks.
Tighten Drain Connections
Loose drain connections cause many leaks. Check all nuts and bolts under the sink. Use a wrench to tighten them gently. Avoid over-tightening as it can cause damage. Tight connections stop water from escaping. Test for leaks after tightening.
Address Supply Line Leaks
Addressing supply line leaks is important to stop water damage under your kitchen sink. These leaks often come from loose or damaged hoses. Fixing them quickly keeps your kitchen dry and safe.
Inspect And Replace Hoses
Start by turning off the water supply. Look closely at the hoses under the sink. Check for cracks, bulges, or wet spots. Any signs of wear mean the hose needs to be replaced. Use a new hose of the same size and type. This simple step prevents leaks before they start.
Tighten Connection Nuts
Check the nuts connecting the hoses to the faucet and water valves. Use a wrench to gently tighten them. Do not overtighten, as this can cause damage. Tightening loose nuts often stops leaks immediately. After tightening, turn on the water and watch for drips. Repeat if needed until the leak stops.
Test For Remaining Leaks
After fixing your leaking kitchen sink, testing for remaining leaks is key. This step ensures your repair is solid and stops water waste. Take time to check carefully. Catch small drips before they cause big problems. Testing helps keep your kitchen dry and safe.
Turn Water Back On
Start by turning the water supply back on. Open both hot and cold taps fully. Listen for any strange sounds like dripping or hissing. Watch under the sink closely for water spots or moisture. Use a dry cloth to wipe pipes and joints. This helps spot even tiny leaks. Run the water for a few minutes to be sure.
Check All Fixed Areas
Look at every area you fixed. Check pipe joints, washers, and connectors. Feel around with your hand for wetness or coldness. Use a flashlight to see hard spots clearly. If you see any drips, tighten or reseal the part. Keep checking until no leaks appear. This careful check keeps your sink leak-free longer.

Credit: www.youtube.com
Prevent Future Leaks
Preventing future leaks is key to keeping your kitchen sink in good shape. Small leaks can turn into big problems fast. Regular care helps avoid costly repairs and water damage. It also keeps your sink working well for a long time.
Regular Maintenance Tips
Check under your sink often for any signs of moisture. Tighten loose connections and replace worn-out washers or seals. Clean drain stoppers and pipes to stop clogs. Avoid pouring grease or food scraps down the drain. Use a plunger or drain snake to clear small blockages.
When To Call A Professional
Call a plumber if leaks return after fixing them. Also, seek help if you see water pooling or hear dripping sounds. Complex plumbing issues need expert tools and skills. Don’t wait too long to get professional help. Early action can save money and prevent damage.
Credit: nicholson-hvac.com
Frequently Asked Questions
How Do I Identify A Leaking Kitchen Sink?
Check under the sink for water puddles or dampness. Inspect pipes, joints, and the faucet base closely. Look for corrosion, loose fittings, or water stains that indicate leaks. Early detection helps prevent damage and costly repairs.
What Tools Are Needed To Fix A Leaking Sink?
Common tools include a wrench, plumber’s tape, bucket, and screwdriver. You might also need replacement washers or gaskets. Having these tools ready makes the repair process smoother and faster.
Can I Fix A Leaking Sink Without A Plumber?
Yes, many leaks can be fixed by tightening fittings or replacing washers. Simple repairs like sealing cracks or tightening connections can be done DIY. For complex issues, it’s best to consult a professional plumber.
How Long Does It Take To Repair A Leaking Kitchen Sink?
Most minor leaks can be fixed within 30 minutes to an hour. Time depends on the leak’s cause and your repair experience. Preparing tools and parts in advance speeds up the process.
Conclusion
Fixing a leaking kitchen sink saves water and money. Start by finding the leak source carefully. Tighten connections or replace worn parts as needed. Check your work by running the water again. Regular sink maintenance can prevent future leaks. Small steps keep your kitchen dry and safe.
Don’t wait until damage grows worse. Act quickly and keep your sink in good shape. Simple fixes make a big difference over time.