Are you tired of hard water leaving spots on your dishes and making your skin feel dry? Imagine turning your kitchen sink into a source of soft, gentle water that makes cleaning easier and protects your appliances.
Changing your kitchen sink to a soft water system is simpler than you think, and it can transform your daily routine. You’ll discover clear, step-by-step guidance to help you make the switch quickly and effectively. Keep reading to unlock the secret to softer water right at your kitchen sink!
Contents
Benefits Of Soft Water In the Kitchen
Soft water brings many benefits to your kitchen. It makes daily tasks easier and helps keep your kitchen clean. Using soft water protects your pipes and appliances. It also improves the quality of your dishes and utensils.
Preventing Mineral Buildup
Hard water leaves minerals on surfaces. These minerals build up in sinks and pipes. Soft water stops this buildup. It keeps your kitchen fixtures clean. Less mineral buildup means fewer clogs and repairs.
Improving Dishwashing Efficiency
Soft water helps soap work better. Dishes get cleaner with less effort. No spots or film on glasses and plates. It saves time and water during washing. Your kitchen looks brighter and more hygienic.
Extending Appliance Lifespan
Appliances like dishwashers and water heaters last longer. Soft water prevents scale inside machines. This reduces damage and improves performance. You spend less on repairs and replacements. Your kitchen appliances stay efficient for years.
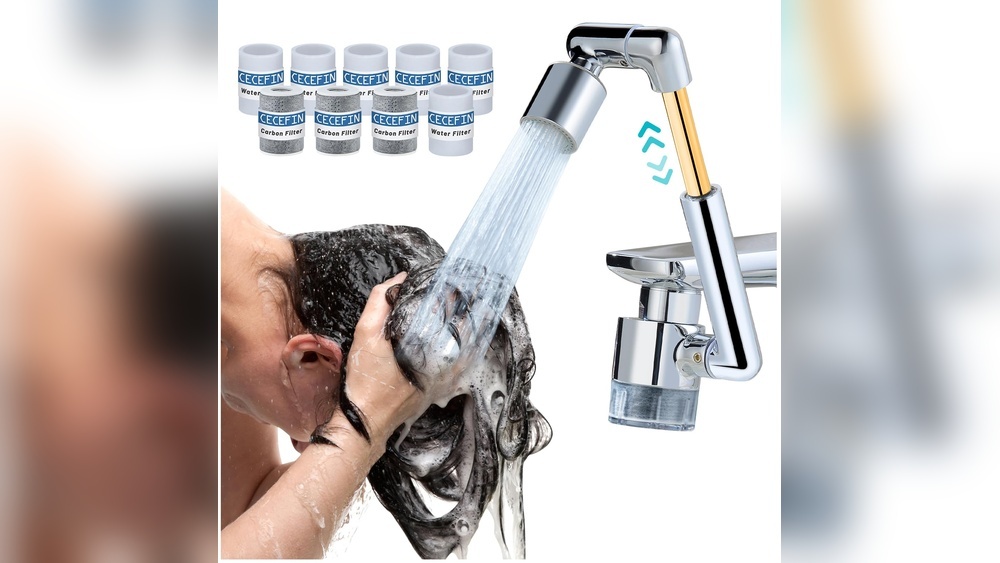
Credit: www.ebay.com
Tools And Materials Needed
Changing your kitchen sink to a soft water system requires specific tools and materials. Having everything ready makes the process smoother. This section lists what you need to complete the job.
Soft Water System Components
You will need a water softener unit designed for home use. A bypass valve helps control water flow during installation. Tubing or pipes connect the softener to your sink’s water supply. Check valves prevent water from flowing backward. A drain line allows the system to flush out minerals. Make sure all components fit your kitchen plumbing setup.
Basic Plumbing Tools
A pipe wrench helps loosen and tighten plumbing connections. An adjustable wrench works on different-sized nuts and bolts. A pipe cutter or hacksaw cuts pipes to the right length. Plumber’s tape seals threaded connections to stop leaks. A bucket catches any water that spills during work. Have a flashlight for better visibility in tight spaces.
Safety Gear
Wear gloves to protect your hands from sharp edges. Safety glasses shield your eyes from debris and splashes. Use knee pads if you work on the floor for long periods. Make sure the workspace is dry to avoid slips. Keep a first aid kit nearby for minor injuries. Safety comes first in every plumbing task.
Preparing Your Kitchen Sink
Preparing your kitchen sink is the first step in installing a soft water system. Careful preparation helps avoid problems during installation. It also ensures your new system works well.
This section covers turning off the water, removing old parts, and checking pipes. Each step is important for a smooth process.
Turning Off the Water Supply
Start by shutting off the water supply to the kitchen sink. Find the shutoff valves under the sink. Turn them clockwise to close. If there are no valves, turn off the main water supply to the house. Open the faucet to drain any leftover water in the pipes. This step prevents leaks and water damage during work.
Removing Existing Fixtures
Next, remove the faucet and any other fixtures on the sink. Use a wrench to loosen the nuts holding the faucet in place. Carefully lift the faucet out. Disconnect water supply lines from the faucet. Keep a bucket nearby to catch any water drips. Set the old parts aside for disposal or reuse if needed.
Cleaning And Inspecting Pipes
After removing fixtures, clean the pipes and connections. Use a cloth to wipe away dirt and grime. Check pipes for leaks, cracks, or rust. Damaged pipes should be fixed or replaced. Clean pipes help the soft water system work better and last longer. Take your time with this step to avoid future issues.
Installing The Soft Water System
Installing a soft water system in your kitchen sink is a smart way to improve water quality. This process requires careful steps to ensure everything works well. The system removes hard minerals from the water, making it gentle on your pipes and appliances. Follow these clear instructions to install your soft water system properly.
Connecting To Water Supply
Start by turning off the main water valve. Locate the cold water supply line under your kitchen sink. Use a wrench to disconnect this line carefully. Attach the inlet hose of the softener unit to the cold water pipe. Tighten the connection to avoid leaks. Connect the outlet hose from the softener to the faucet supply line. Double-check all connections for a secure fit.
Mounting The Softener Unit
Choose a dry, accessible spot near the sink for the softener unit. Use a drill to make holes for mounting brackets. Secure the brackets firmly to the wall or cabinet. Place the softener unit on the brackets. Make sure it stands level and steady. Leave space for easy access to the control panel and salt tank.
Securing Plumbing Connections
Use plumber’s tape on all threaded connections to prevent leaks. Tighten each fitting with a wrench, but avoid over-tightening. Check that all hoses and pipes are firmly attached. Connect the drain line from the softener to a nearby drain pipe. Ensure the drain hose is secure and positioned correctly. Turn on the water supply slowly and watch for leaks. Fix any leaks immediately before using the system fully.
Testing And Adjusting The System
After installing a soft water system for your kitchen sink, testing and adjusting it is important. This step ensures the system works well and provides soft water consistently. Proper testing helps catch issues early and keeps your water quality high.
Checking For Leaks
Check all connections and joints around the softener. Look for drips or wet spots under the sink. Even small leaks can cause water damage over time. Tighten any loose fittings carefully. Use a dry cloth to spot hidden moisture. Fix leaks before moving to the next step.
Adjusting Softener Settings
Set the softener based on your water hardness level. Most systems have a control panel for this. Adjust the salt dosage and regeneration frequency. Follow the manufacturer’s instructions closely. Proper settings save salt and keep the water soft. Make small changes and observe results.
Verifying Water Softness
Test the water using a hardness test kit. Collect water from the kitchen sink faucet. Compare the results to the desired softness level. Soft water feels smoother and reduces soap scum. Repeat tests after a few days to confirm stability. Adjust settings again if needed for best results.

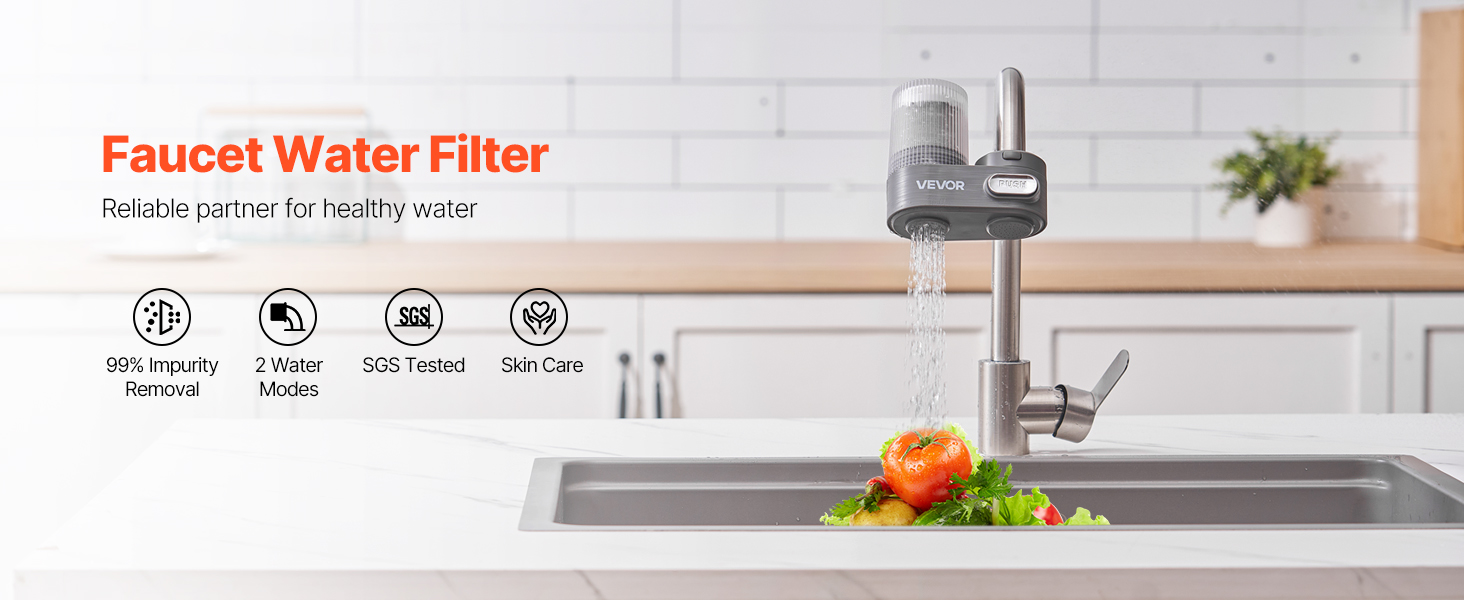
Credit: www.amazon.ae
Maintaining Your Soft Water System
Maintaining your soft water system keeps it working well and extends its life. Proper care ensures soft water flows smoothly from your kitchen sink. Simple steps help avoid damage and costly repairs.
Regular Cleaning Tips
Clean your soft water system parts regularly. Wipe the exterior to remove dust and dirt. Check for any leaks or cracks. Clean the brine tank at least once a year. Use mild soap and water to avoid damage. Keep the area around the system dry and clear.
Replacing Filters And Resins
Filters and resins lose effectiveness over time. Change filters every 3 to 6 months for best results. Replace resins every 3 to 5 years, depending on water hardness. Follow the manufacturer’s instructions carefully. Using fresh materials keeps the water soft and clean.
Troubleshooting Common Issues
A soft water system may face common problems. Low water pressure can mean clogged filters. Hard water taste might signal resin wear. Strange noises need a quick check for loose parts. Simple fixes often restore system function fast. Consult the manual or a professional if issues persist.
Frequently Asked Questions
What Is A Soft Water System For Kitchen Sinks?
A soft water system removes minerals like calcium and magnesium from water. It prevents scale build-up and improves water quality. This system protects your plumbing and appliances. It also makes cleaning easier and extends the sink’s lifespan.
How Do I Install A Soft Water System Under My Sink?
First, turn off the water supply. Connect the softener unit to the cold water line. Use proper fittings and follow manufacturer instructions. Ensure the system is secure and leak-free. Finally, turn the water back on and check for proper operation.
Can A Soft Water System Improve Kitchen Sink Water Taste?
Yes, a soft water system can enhance water taste. It reduces mineral content that causes hardness and unpleasant flavors. Softened water feels smoother and fresher. This improves drinking, cooking, and cleaning experiences in your kitchen.
How Often Should I Maintain A Kitchen Sink Soft Water System?
Maintenance depends on water usage and system type. Generally, check the system monthly and refill salt or regenerant as needed. Clean filters and inspect for leaks every few months. Proper upkeep ensures efficient performance and prolongs system life.
Conclusion
Changing your kitchen sink to a soft water system improves water quality. It helps reduce stains and makes cleaning easier. Soft water also protects your pipes and appliances. The process is simple with the right tools and steps. Take your time and follow the instructions carefully.
You will enjoy softer water and a cleaner kitchen. This small change can make a big difference every day. Give your kitchen a fresh, gentle touch with soft water.