Are you tired of water leaking around your kitchen sink edges? A poorly sealed sink can lead to damage, mold, and costly repairs.
Finding the best way to seal your kitchen sink edges is easier than you think—and it can save you time and money. You’ll discover simple, effective steps to create a tight seal that lasts. Keep reading to protect your kitchen and enjoy a cleaner, safer space every day.

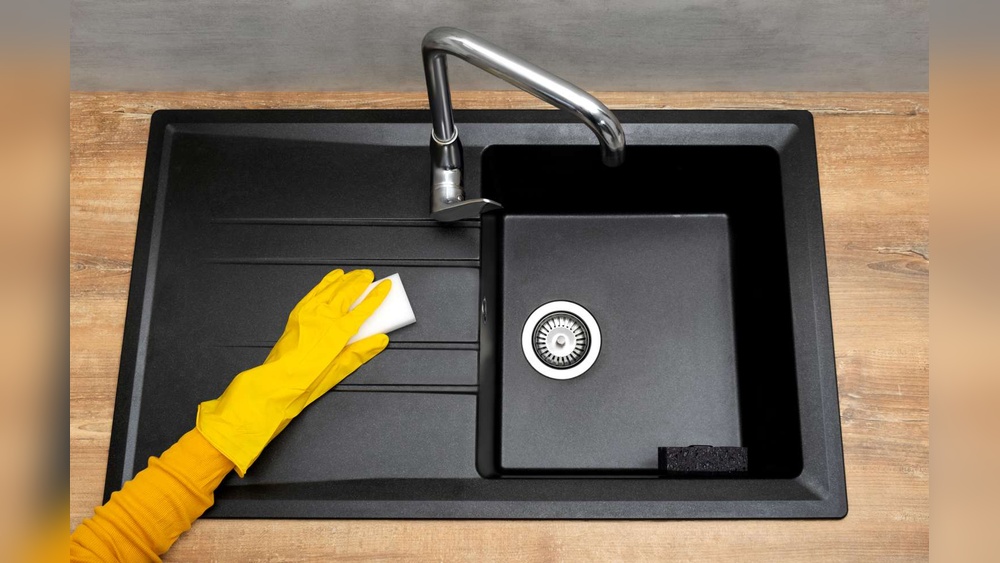
Credit: www.youtube.com
Contents
Choosing The Right Sealant
Choosing the right sealant for your kitchen sink edges is important. It stops water from leaking under the sink. It also keeps mold and bacteria away. The right sealant lasts long and stays strong even with daily use. Picking the best type helps you avoid repairs and keeps your sink area clean.
Different sealants have different features. Some are better with water, while others are safer for food areas. Knowing these differences helps you pick the best sealant for your kitchen.
Silicone Vs. Acrylic
Silicone sealants are very flexible and waterproof. They stick well to most sink materials. Silicone lasts longer and resists mold and mildew better than acrylic. Acrylic sealants are cheaper and easier to apply. They dry faster but are less flexible and can crack over time. Silicone is best for wet areas like sinks.
Food-safe Options
Sealants near food need to be safe and non-toxic. Some silicone sealants are made to be food-safe. They do not release harmful chemicals. Acrylic sealants can also be food-safe, but check the label carefully. Using food-safe sealants protects your family’s health and keeps your kitchen safe.
Durability Factors
Durability depends on water exposure, heat, and cleaning products. Silicone handles water and heat well. It stays strong even with harsh cleaners. Acrylic may wear out faster and peel under constant water or heat. Choose a sealant that lasts long and stays intact with regular kitchen use.

Credit: www.recommend.my
Preparing The Sink Edges
Preparing the edges of your kitchen sink is the first step for a strong, clean seal. Proper preparation ensures the sealant sticks well and lasts longer. It also prevents water leaks and damage to your countertop.
Start by making sure the area is clean and free from old sealant or dirt. Dry the surface completely before applying new sealant. These steps create the perfect base for a smooth finish.
Cleaning Techniques
Use a mild detergent and warm water to clean the sink edges. A soft cloth or sponge works best to avoid scratches. Remove all grease, food particles, and dirt carefully.
Rinse the area with clean water to remove soap residue. Dirt or grease left behind can stop the sealant from sticking properly.
Removing Old Sealant
Old sealant can be hard and cracked. Use a plastic scraper to lift it gently without damaging the surface. Avoid metal tools to prevent scratches.
For stubborn residue, apply a sealant remover or rubbing alcohol. Let it sit for a few minutes to soften the old sealant. Wipe it off with a cloth.
Drying And Surface Prep
Dry the sink edges completely with a clean towel. Any moisture can weaken the sealant bond. Let the area air dry for a few minutes if possible.
Check the surface for any rough spots. Lightly sand smooth surfaces if needed. Clean off dust before sealing.
Applying The Sealant
Applying the sealant around your kitchen sink edges is a key step. It stops water from leaking and keeps your sink area clean. Doing this job carefully ensures a strong, lasting seal.
Tools Needed
- Caulking gun
- Silicone sealant or kitchen-grade caulk
- Masking tape
- Utility knife or scissors
- A sponge or a damp cloth
- Smoothing tool or your finger
Step-by-step Application
Start by cleaning the sink edges well. Remove old sealant and dry the area completely.
Apply masking tape along the edges for a straight line. Cut the sealant tube tip at a 45-degree angle.
Load the tube into the caulking gun. Slowly squeeze the trigger to apply a steady bead of sealant.
Move the gun smoothly along the edge. Try to keep the bead even and continuous.
Smoothing The Sealant
Wet your finger or a smoothing tool before touching the sealant. Run it gently along the bead to press it down.
Remove excess sealant with a damp cloth. Pull off the masking tape carefully before the sealant dries.
Let the sealant cure as per the instructions on the package. Avoid using the sink until it is fully dry.

Credit: www.youtube.com
Curing And Maintenance
Sealing a kitchen sink properly is only half the task. The sealant needs time to cure and some care afterward to last long. Proper curing and regular maintenance keep your sink edges tight and leak-free.
Neglecting these steps may cause cracks, mold, or water damage. This section explains how to let the sealant cure well and maintain it for the best results.
Curing Time
Sealant usually needs 24 to 48 hours to cure fully. Avoid using the sink or exposing it to water during this time. Check the product label for the exact curing time. Longer curing ensures a stronger, waterproof seal.
Avoiding Common Mistakes
Do not rush drying by using heat or fans. This can weaken the seal. Avoid touching or pressing the seal while it cures. Make sure the edges stay clean and dry before sealing. Dirt or moisture reduces the sealant’s effectiveness.
Regular Inspection Tips
Check the sealed edges every few months. Look for cracks, gaps, or peeling. Clean the area gently with mild soap and water. Reapply sealant if you find any damage. Keeping the seal intact prevents leaks and water damage.
Troubleshooting Seal Issues
Sealing the edges of a kitchen sink is vital to stop water damage. Sometimes, seals can fail or show issues. Fixing these problems quickly helps keep your kitchen safe and clean.
Leaks And Gaps
Leaks often happen when the sealant is not applied evenly. Gaps let water slip through, causing damage under the sink. Check edges carefully for any cracks or holes. Use a flashlight to spot small gaps. Clean the area before applying new sealant to close leaks.
Sealant Peeling
Sealant can peel due to moisture or poor surface cleaning. Old sealant loses stickiness and comes off easily. Remove all peeling parts before adding fresh sealant. Make sure the surface is dry and free of dirt. Proper drying helps the sealant hold better.
Reapplying Sealant
Remove old sealant with a putty knife or scraper. Clean the sink edge with rubbing alcohol to remove residue. Apply a smooth, even bead of sealant along the edge. Use a wet finger or tool to press the sealant down. Let it dry fully before using the sink to avoid leaks.
Frequently Asked Questions
How Do I Seal A Kitchen Sink Edge Properly?
Clean the sink edge thoroughly before sealing. Use a high-quality silicone caulk for flexibility. Apply a smooth, continuous bead, then smooth it with a wet finger or tool for a clean finish. Let it cure for 24 hours.
What Is The Best Sealant For Kitchen Sinks?
Silicone-based sealants are best for kitchen sinks. They are waterproof, flexible, and mold-resistant. Silicone adheres well to most sink materials and counters, ensuring a long-lasting seal that prevents leaks and water damage.
Can I Seal A Sink Edge Without Removing The Old Sealant?
Removing old sealant is recommended for a proper seal. Old caulk can trap dirt and moisture, causing poor adhesion. Clean the area thoroughly before applying new sealant to ensure durability and prevent leaks.
How Long Does Kitchen Sink Sealant Take To Dry?
Most silicone sealants take 24 hours to fully cure. Drying time depends on humidity and temperature. Avoid using the sink during this period to ensure a strong, waterproof seal.
Conclusion
Sealing a kitchen sink well stops water leaks and damage. Use the right sealant and clean the area first. Apply the sealant carefully and smooth it out. Let it dry completely before using the sink. Check the edges regularly for cracks or gaps.
A good seal keeps your kitchen clean and safe. Simple steps can save you time and money. Take your time and do it right. Your sink will stay sealed and strong for years.