
Are you thinking about removing your kitchen sink but worried about damaging your countertop? You’re not alone.
Many people hesitate because they fear cracks, scratches, or stubborn stains. The good news is, with the right steps and a little patience, you can safely remove your sink without harming your countertop. You’ll discover practical tips and simple tricks that make the process easier than you might expect.
Keep reading to learn how to protect your kitchen surfaces while tackling this common home project yourself.
Credit: housebythepreserve.com
Contents
Preparing For Sink Removal
Preparing for sink removal is an important step to avoid damage to your countertop. Careful preparation makes the process smoother and safer. Taking the right precautions protects your kitchen surfaces and plumbing.
Gathering Necessary Tools
Collect all tools before starting the job. You will need a wrench, screwdriver, bucket, and putty knife. A flashlight helps to see under the sink. Having everything ready saves time and prevents frustration.
Turning Off Water Supply
Locate the water shut-off valves under the sink. Turn them clockwise to stop water flow. Open the faucet to drain any remaining water. This step prevents leaks and water damage during removal.
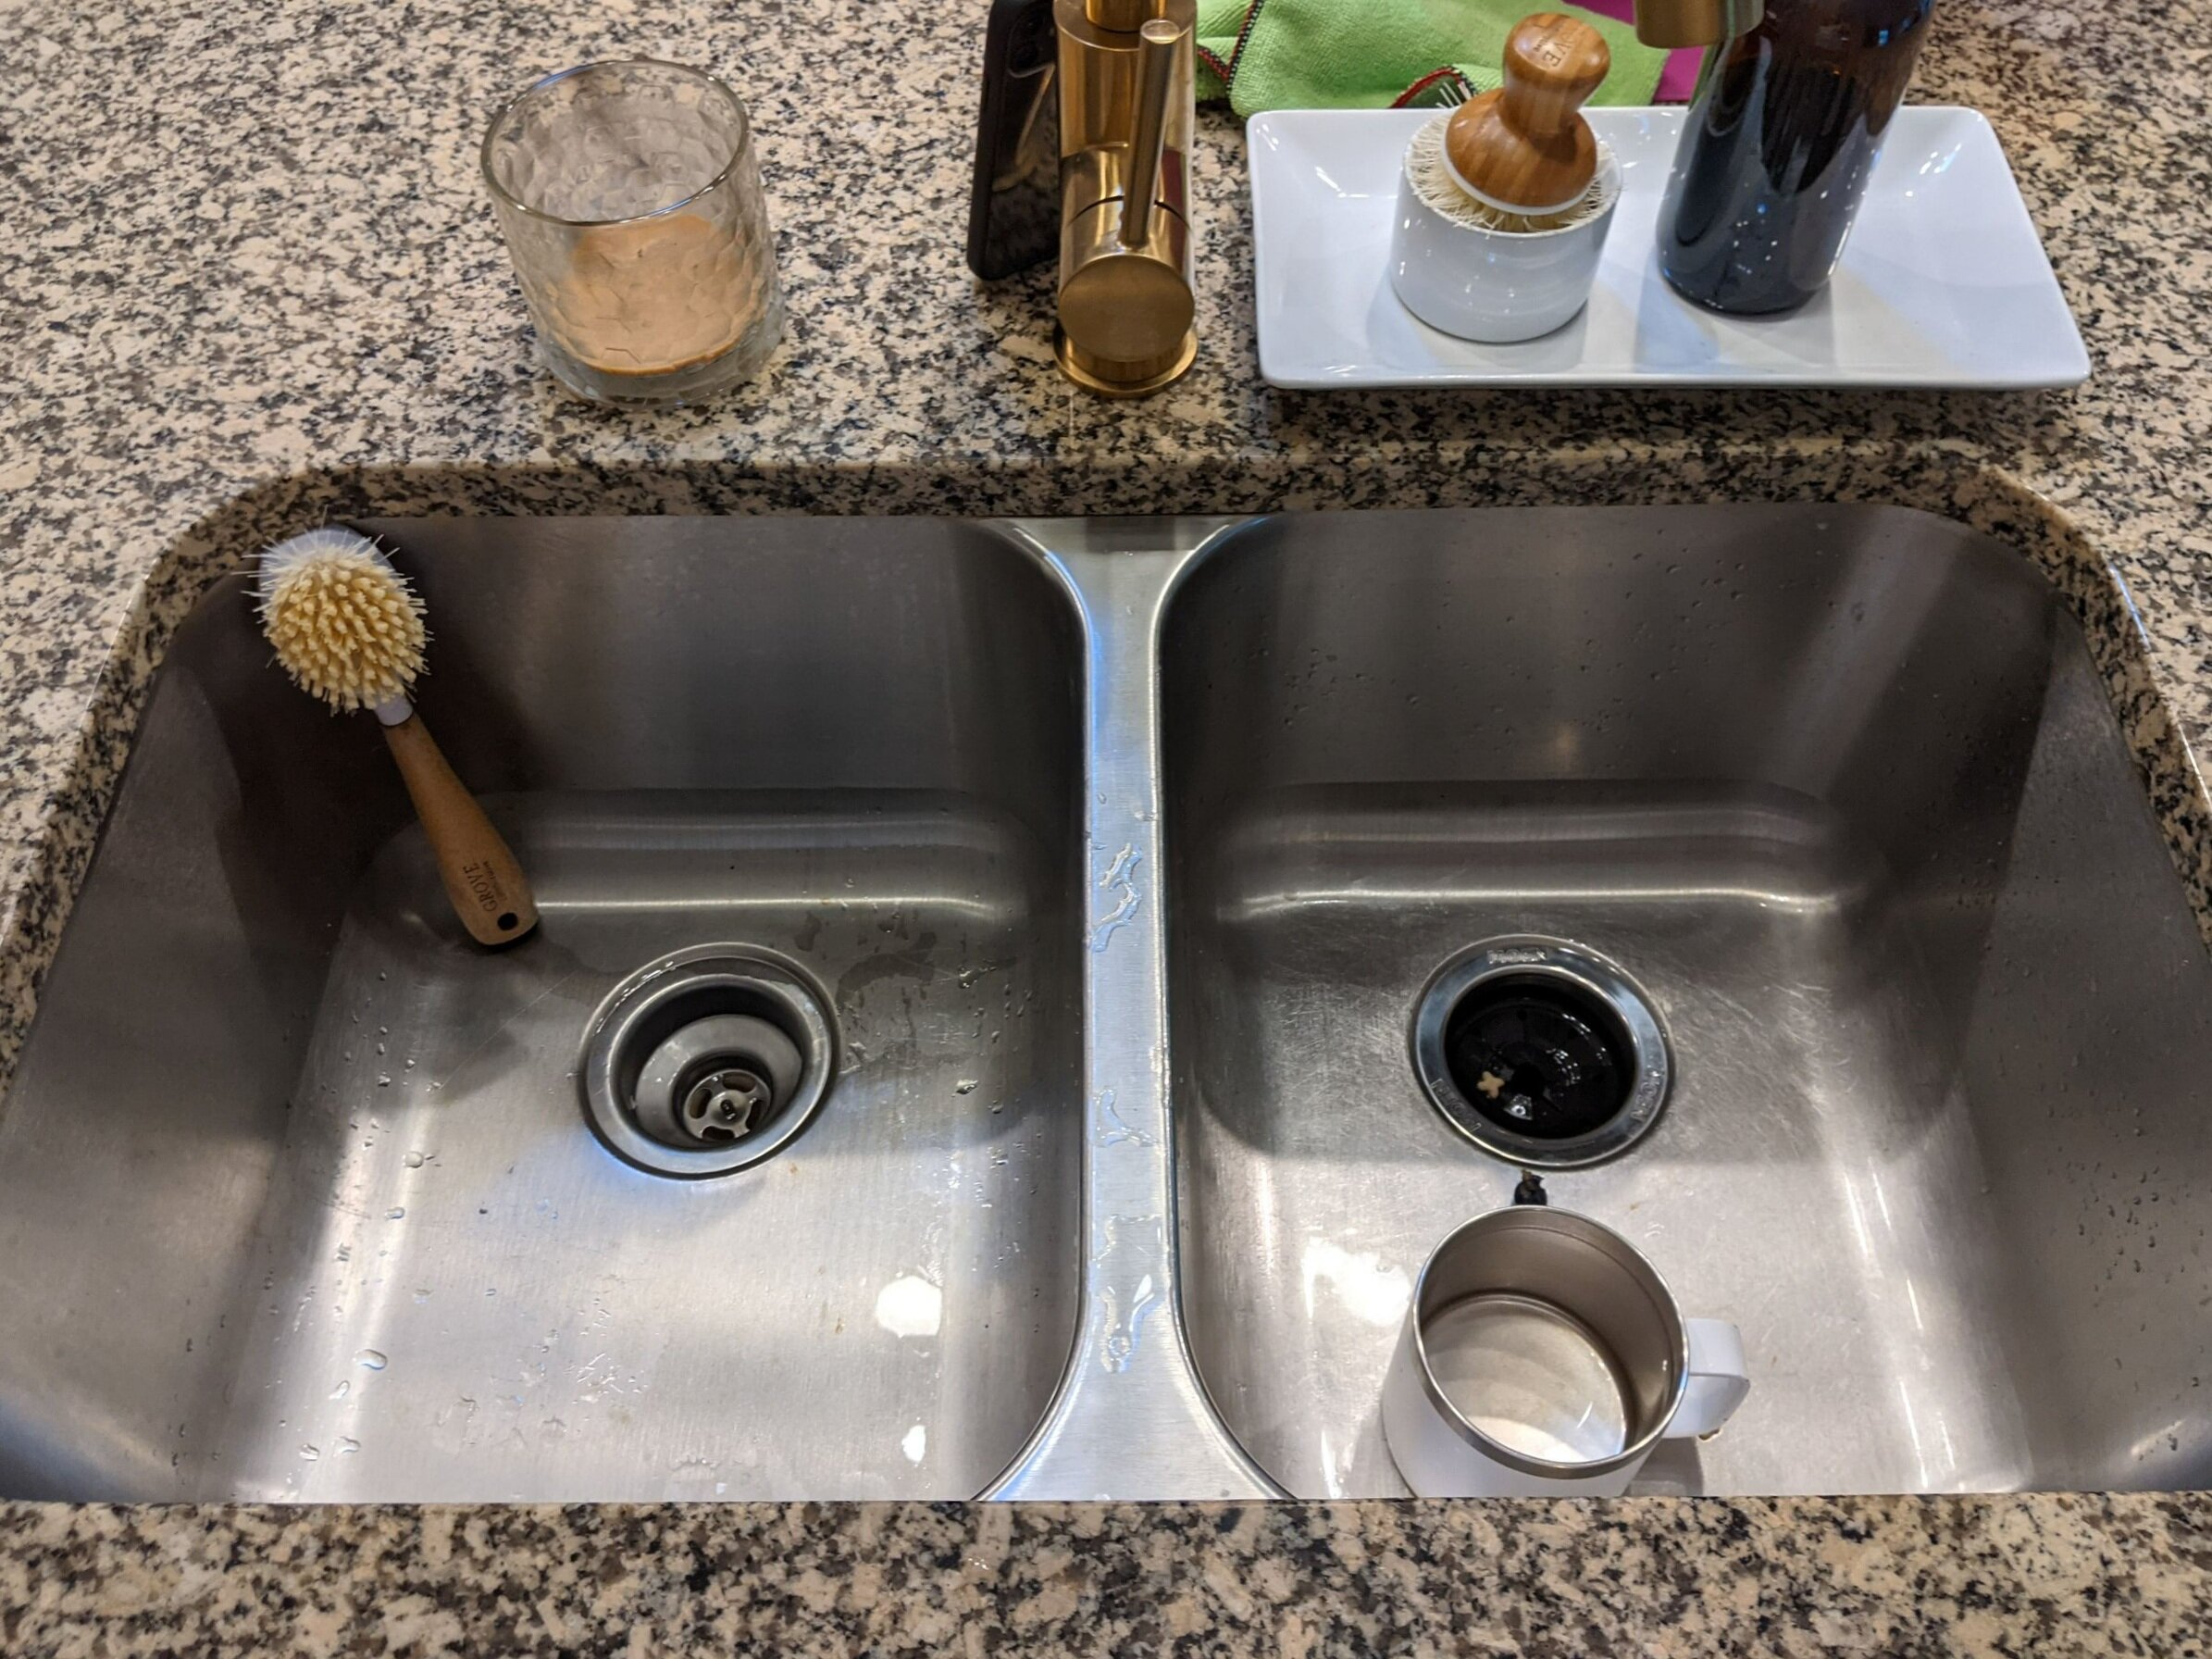
Clearing The Work Area
Remove items from under and around the sink. Clear the countertop to give yourself space to work. Lay down a towel or cloth to protect the surface. A clean area reduces the chance of accidents and damage.

Credit: www.youtube.com
Disconnecting Plumbing Fixtures
Disconnecting plumbing fixtures is a key step in removing a kitchen sink safely. This process helps prevent damage to your countertop and plumbing system. Careful handling of each part reduces leaks and mess. Follow clear steps to keep everything intact and ready for reinstallation.
Removing Drain Pipes
Start by placing a bucket under the drain pipes. Loosen the slip nuts by hand or with pliers. Gently pull the pipes apart to avoid bending or breaking. Remove the P-trap carefully to clear any water inside. Keep all pipe parts in a safe place for later use.
Detaching Water Lines
Turn off the water supply valves under the sink. Use an adjustable wrench to loosen the nuts on the water lines. Pull the lines away from the faucet connections slowly. Have a towel ready to catch any leftover water drips. Avoid pulling hard to protect the lines and fittings.
Handling Garbage Disposal
Disconnect the power source by unplugging or switching off the breaker. Use a wrench to loosen the mounting bolts that hold the disposal. Twist the unit carefully to detach it from the sink flange. Check for any electrical or plumbing connections still attached. Set the disposal aside safely after removal.
Detaching The Sink
Detaching the kitchen sink is a careful process. It needs patience and the right steps to avoid damage. The sink is attached firmly to the countertop. Removing it without harm requires loosening the mounting clips and cutting through the sealant. Then, lifting the sink carefully finishes the job.
Loosening Mounting Clips
Mounting clips hold the sink tightly in place. These clips are usually under the sink or around the edges. Use a screwdriver or wrench to loosen them. Turn each clip slowly to avoid breaking. Keep track of all clips for reinstallation later.
Cutting Through Sealant
Sealant creates a strong bond between the sink and countertop. Use a utility knife to cut through the sealant. Move the blade gently along the sink edge. Avoid deep cuts to protect the countertop surface. This step frees the sink without pulling on the countertop.
Lifting The Sink Carefully
After the clips and sealant are removed, the sink is ready to lift. Use both hands to lift evenly. Lift slowly to check for any remaining attachments. Avoid sudden movements that could crack the countertop. Set the sink down gently on a soft surface.
Protecting The Countertop
Removing a kitchen sink without harming the countertop requires careful steps. Protecting the countertop is key to avoiding costly damage. Small mistakes can cause scratches, stains, or cracks. Preparing the surface well helps keep it safe and clean.
Using Protective Materials
Cover the countertop edges with painter’s tape or masking tape. Use a cardboard or a soft cloth to shield the surface from tools. Place a thick towel under the sink area to catch falling debris. These materials act as barriers against scratches and dents.
Avoiding Common Damage Risks
Do not use sharp tools directly on the countertop. Avoid pulling the sink roughly to prevent cracks or chips. Keep heavy tools away from the countertop edge. Remove any screws or clips gently to reduce pressure on the surface.
Cleaning Residual Adhesive
Use a plastic scraper to lift off old glue or sealant. Apply a mild adhesive remover safe for your countertop type. Wipe the area with a soft cloth after removing the residue. This step prevents sticky buildup and keeps the surface smooth.
Troubleshooting Challenges
Removing a kitchen sink without harming the countertop can be tricky. Several challenges may appear during the process. Knowing how to handle these problems helps protect your countertop and finish the job well.
Dealing With Stubborn Fixtures
Old sinks often have rusty or stuck fixtures. These can be hard to loosen and remove. Use a penetrating oil to help break the rust. Let it sit for a few minutes before trying again. Avoid using too much force to stop damage to the countertop or sink.
Managing Tight Spaces
Kitchen sinks often fit in small, cramped areas. This limits your movement and the tools you can use. Choose compact tools to work in tight spaces. Take your time to avoid slipping or scratching surfaces. Clear the area as much as possible before starting work.
Handling Unexpected Damage
Sometimes damage appears once the sink is off. Scratches, cracks, or water damage may show up. Check the countertop carefully before installing a new sink. Small scratches can be fixed with a countertop repair kit. For bigger cracks, call a professional to avoid more harm.
Preparing For New Sink Installation
Preparing for a new sink installation needs care and planning. This step protects your countertop and ensures a smooth setup. Taking time to prepare helps avoid damage and future problems. Follow these key steps before removing your old sink and installing the new one.
Inspecting Countertop Condition
Check the countertop around the sink area for cracks or damage. Look for water stains or soft spots that may mean hidden problems. Ensure the surface is clean and dry before starting. Fix any issues to prevent leaks or damage later.
Measuring For a Replacement Sink
Measure the current sink’s length, width, and depth carefully. Note the shape and the mounting style of the sink. Compare these with the new sink’s dimensions to ensure a good fit. Accurate measurements save time and avoid costly errors during installation.
Sealing And Finishing Tips
Apply a good sealant around the sink edges to stop water leaks. Use silicone caulk that is safe for kitchens and waterproof. Smooth the sealant with a finger or tool for a clean look. Let it dry fully before using the sink to protect your countertop and cabinets.

Credit: anytimeplumbing.net
Frequently Asked Questions
Can I Remove a Kitchen Sink Without Damaging the Countertop?
Yes, you can remove a kitchen sink without damaging the countertop. Use proper tools and work carefully. Disconnect plumbing, loosen clips, and gently lift the sink. Avoid prying directly on the countertop to prevent scratches or cracks.
What Tools Do I Need To Remove A Kitchen Sink?
You need a wrench, screwdriver, utility knife, bucket, and putty knife. These tools help disconnect plumbing, cut sealant, and loosen mounting clips safely. Having the right tools reduces risk of damage during removal.
How To Protect Countertop Edges While Removing Sink?
Apply painter’s tape along countertop edges. This prevents scratches and chips. Use gentle prying tools and avoid metal tools directly on surfaces. Work slowly and carefully around sensitive areas.
Is It Necessary To Shut Off Water Before Sink Removal?
Yes, always shut off the water supply before removing the sink. This prevents leaks and water damage. Turn off both hot and cold valves under the sink or main water line.
Conclusion
Removing a kitchen sink without harming the countertop is possible. Careful steps and the right tools help avoid damage. Take your time and work gently around edges. Protect the surface with cloth or tape before starting. If unsure, ask for help or advice from a professional.
A little patience keeps your countertop looking great. This way, you can update or fix your sink safely. Simple precautions make the job easier and safer. You can do it with care and focus.