
Are you tired of your old, worn-out kitchen sink and ready for a change? Replacing your kitchen sink might seem tricky, but it’s easier than you think—and it can completely transform your cooking space.
In this guide, you’ll discover simple steps to swap out your sink without calling a plumber. By the end, you’ll have the confidence to tackle this upgrade yourself, saving time and money. Ready to give your kitchen a fresh new look?
Let’s get started!
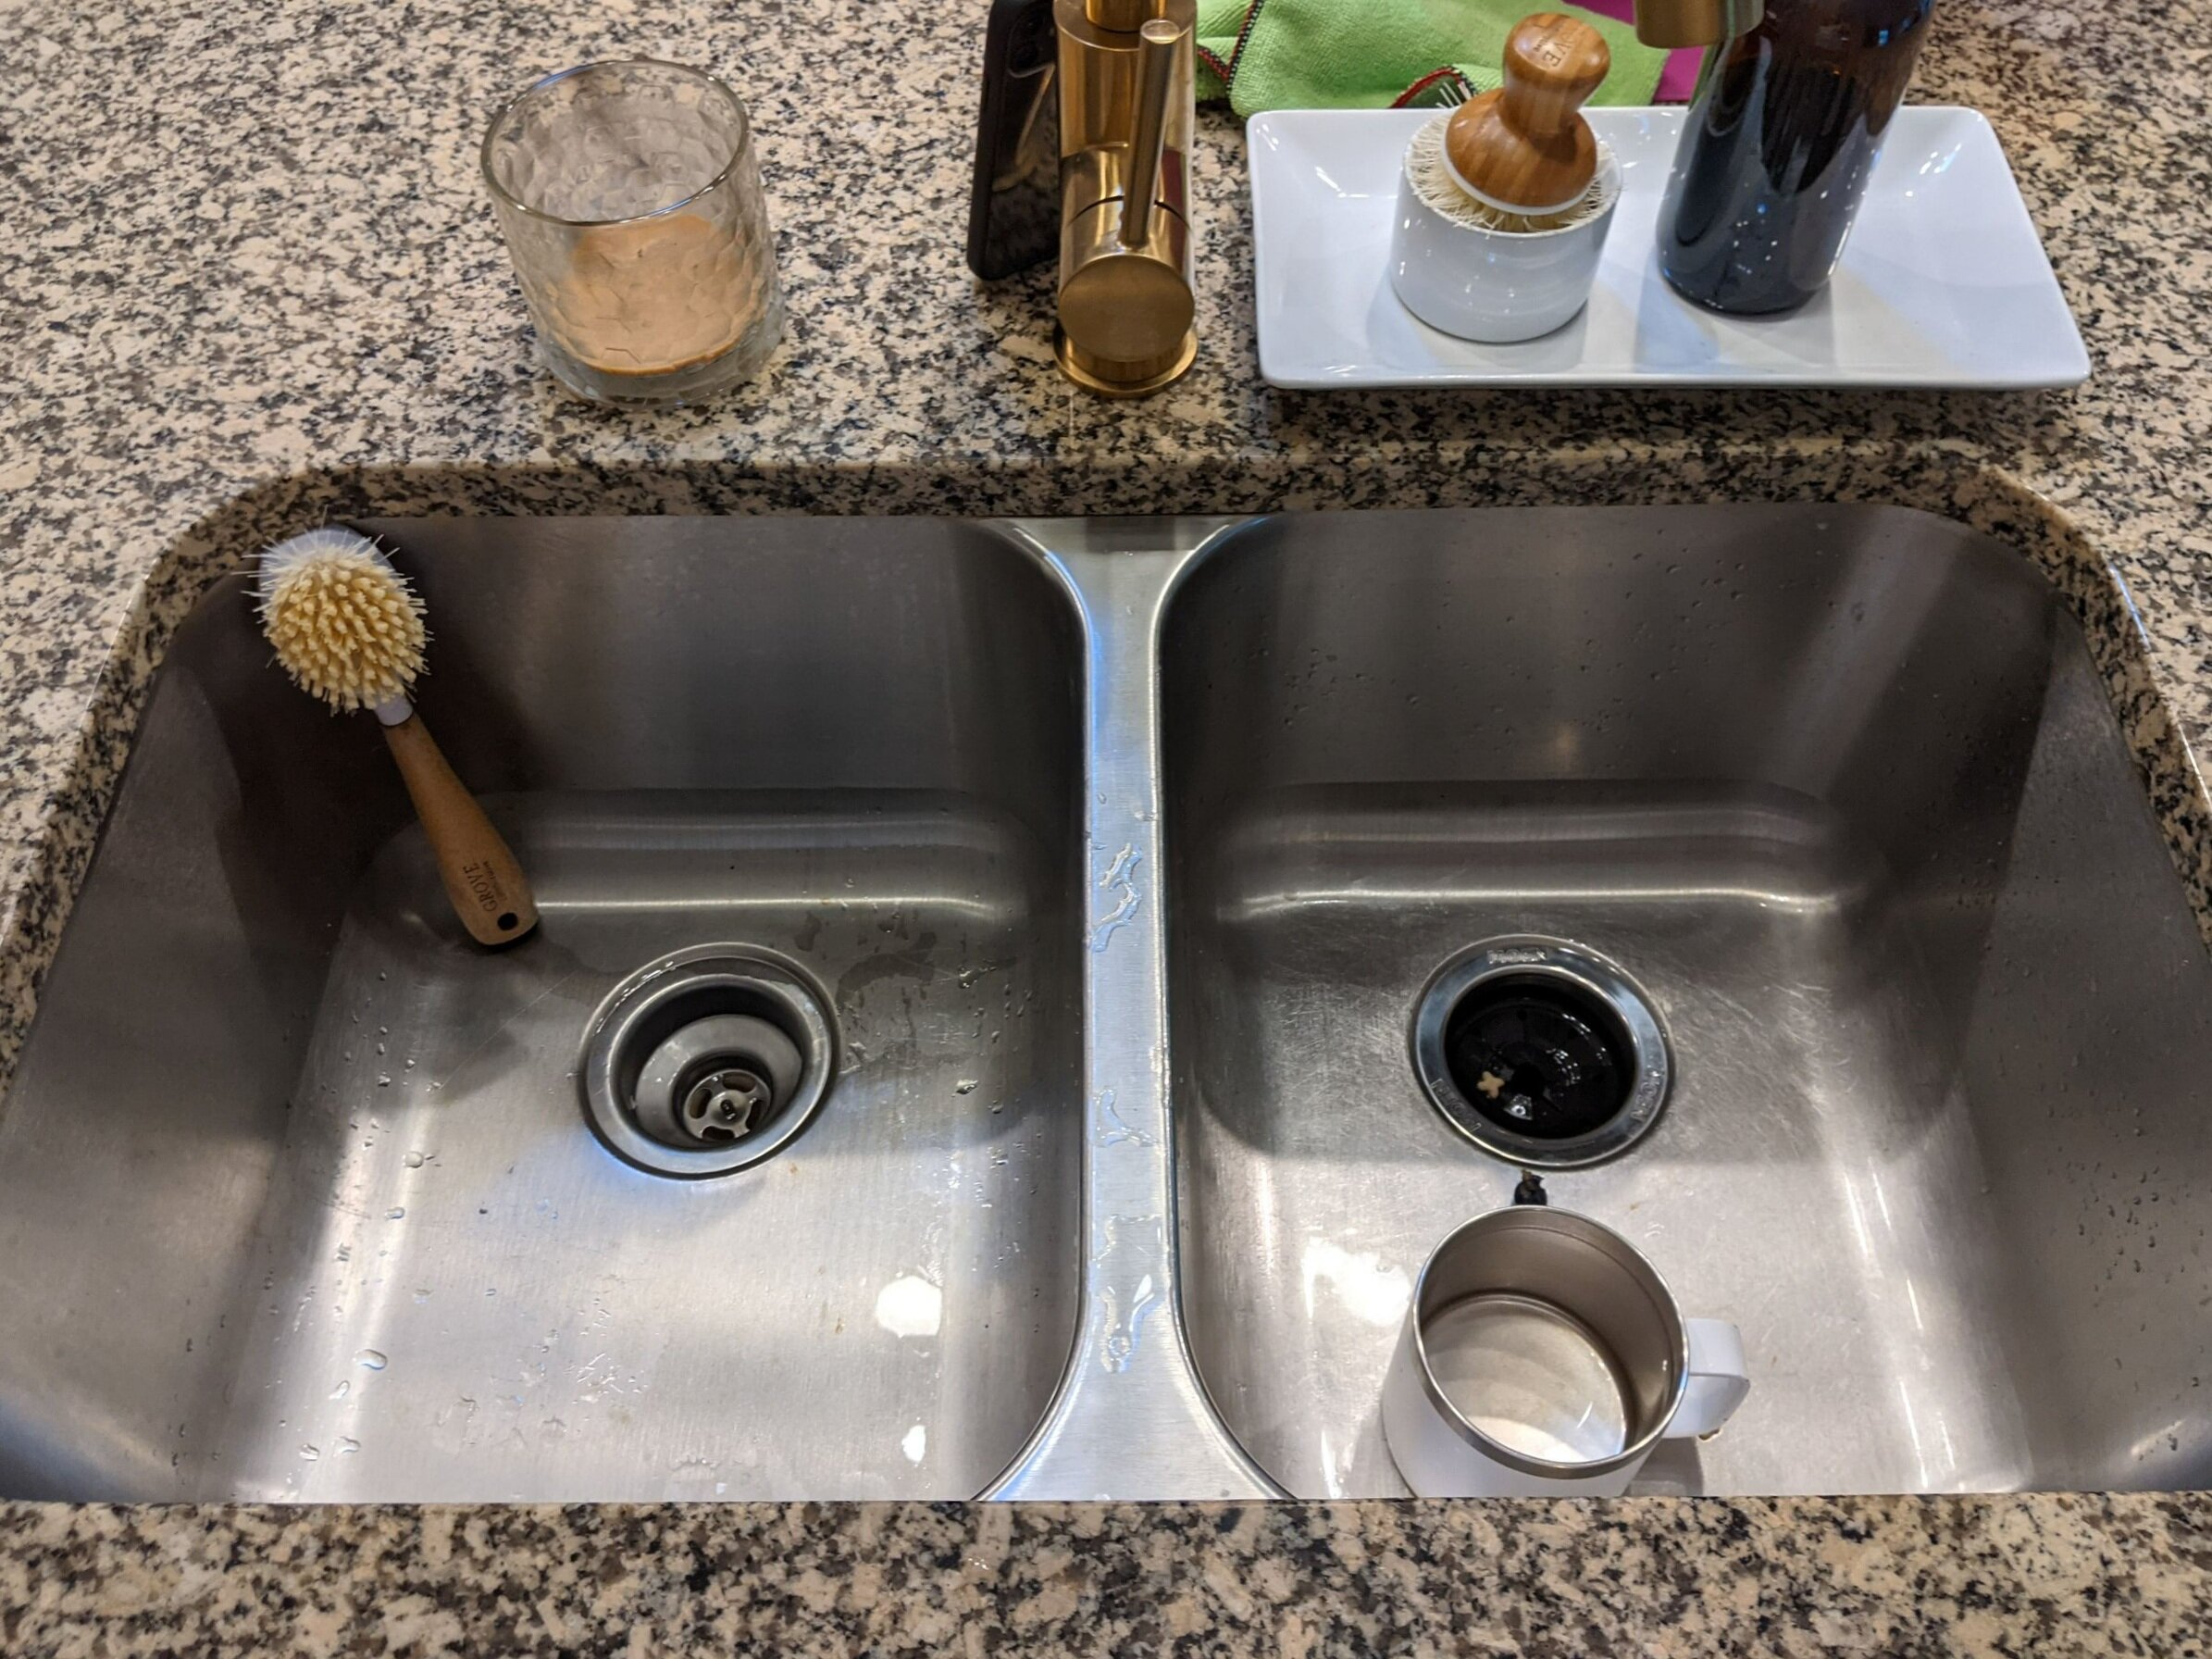
Credit: housebythepreserve.com
Contents
Tools And Materials Needed
Replacing a kitchen sink requires specific tools and materials. Preparing these items before starting saves time and effort. Having everything ready ensures a smooth replacement process.
Essential Tools
- Adjustable wrench for loosening and tightening nuts
- Basin wrench for hard-to-reach plumbing connections
- Pipe wrench for gripping and turning pipes
- Plumber’s putty or caulk gun to seal the sink
- Utility knife to cut old sealant or caulk
- Screwdriver set for removing and installing screws
- Bucket to catch water from pipes
- Flashlight for better visibility under the sink
- Measuring tape to check sink dimensions and fit
Required Materials
- New kitchen sink that fits your countertop opening
- Faucet compatible with the new sink
- Supply lines to connect water to the faucet
- Drain assembly including strainer and tailpiece
- Plumber’s putty or silicone sealant for watertight seals
- New mounting clips or brackets to secure the sink
- Teflon tape for sealing threaded pipe connections
- Replacement P-trap or drain pipes if needed
Preparing The Workspace
Preparing the workspace is a key step before replacing your kitchen sink. It helps keep the process safe and easy. A clean, organized area lets you work without stress or delays.
Focus on two main tasks: turning off the water supply and clearing the area around the sink. These steps protect your home and give you space to work.
Turn Off Water Supply
First, find the water shut-off valves under the sink. Turn them clockwise to close. This stops water flow and prevents leaks during removal.
Check both hot and cold water lines. Make sure the water is fully off by turning on the faucet. No water should come out.
Clear The Area
Remove everything from under the sink. Clear the countertop near the sink too. This creates space to move tools and parts easily.
Cover the countertop with a cloth or plastic sheet. Protect surfaces from scratches or water spills.
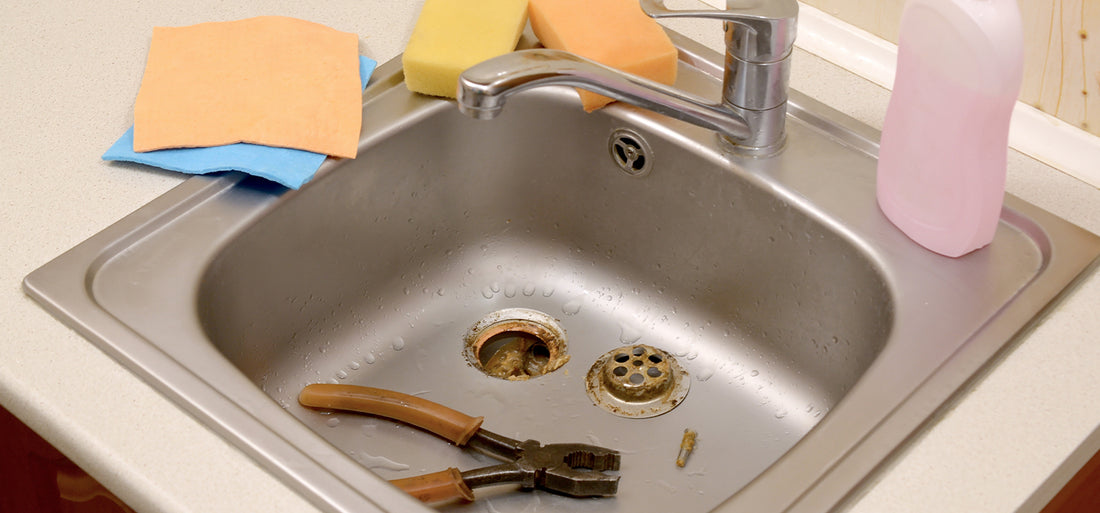
Removing The Old Sink
Removing the old kitchen sink is the first step in installing a new one. It requires careful work to avoid damage to the plumbing and countertop. Follow each step carefully for a smooth process.
Start by preparing your workspace. Clear the area under the sink and have tools ready. Turn off the water supply to prevent leaks or spills.
Disconnect Plumbing
Begin by disconnecting the water supply lines. Use a wrench to loosen the nuts connecting the pipes. Be ready with a bucket to catch any water left in the pipes.
Next, remove the drain pipes. These usually have slip nuts that you can unscrew by hand or with pliers. Take care not to damage the pipes or fittings.
Check for any clips or brackets holding the plumbing in place. Remove these to free the pipes completely.
Detach Sink From Countertop
Look under the sink for clips or screws holding it to the countertop. Use a screwdriver or wrench to remove them. Keep these parts safe for later use or disposal.
Run a utility knife around the edge of the sink. This will cut through old sealant or caulk. Take your time to avoid scratching the countertop.
Carefully lift the sink out. It may need some gentle rocking to break the seal. Ask for help if the sink is heavy or awkward to handle.
Installing The New Sink
Installing the new sink is an important step in replacing your kitchen sink. This process ensures your sink fits well and works properly. Careful handling prevents leaks and damage to your countertop. Follow each step with patience and attention.
Positioning The Sink
Place the new sink carefully into the countertop opening. Make sure it fits snugly, with no gaps. Align the sink so the drain hole matches the plumbing. Check if the sink sits level on the countertop surface. Small adjustments can prevent future leaks and problems.
Securing The Sink
Use the mounting clips that come with the sink to hold it in place. Tighten each clip evenly to avoid warping the sink edges. Apply a bead of silicone caulk around the sink rim for a watertight seal. Wipe away any extra caulk to keep the area neat. Let the caulk dry before connecting the plumbing.
Reconnecting Plumbing
Reconnecting plumbing is an important step after installing your new kitchen sink. It ensures water flows properly and drains without leaks. Careful work here prevents water damage and keeps your kitchen clean.
Attach Faucet And Drain
Start by attaching the faucet to the sink. Tighten all connections firmly, but avoid over-tightening. Next, connect the drain pipe to the sink’s drain outlet. Use plumber’s putty or a gasket to create a good seal. Secure the drain pipe with the right fittings. Make sure the pipes align well and fit snugly.
Check For Leaks
Turn on the water supply slowly. Watch all connections closely. Look under the sink for any drips or moisture. Tighten loose fittings if you spot leaks. Run water for a few minutes to test the drain. Fix any leaks immediately to avoid damage. Properly sealed connections keep your sink working well.
Credit: tapron.co.uk
Finishing Touches
Finishing touches make your new kitchen sink look complete and neat. These final steps help protect your sink and keep your kitchen clean. Take time to do them right for a polished result.
Seal Edges
Apply a thin line of silicone sealant around the sink edges. This blocks water from leaking under the sink. Smooth the sealant with a wet finger or a tool. Let it dry fully before using the sink. Sealing prevents water damage and keeps your countertop safe.
Clean Up Workspace
Remove tools, old caulk, and debris from the area. Wipe the countertop and sink surface clean. Check for any leftover dust or dirt. Proper cleaning makes your kitchen look fresh and tidy. It also stops grime from building up around the sink.
Common Issues And Fixes
Replacing a kitchen sink can fix many problems. Some issues are common and easy to solve. Knowing these helps avoid mistakes. It also saves time and money. Understanding common problems makes the job smoother and more effective.
Leaking Connections
Leaks often happen at pipe joints or faucet bases. Loose fittings cause water to drip. Tighten nuts with a wrench carefully. Use plumber’s tape on threads to stop leaks. Check washers and replace if worn out. Test for leaks by running water after fixing.
Improper Drainage
Slow drainage signals a clog or poor setup. Clear blockages using a plunger or drain snake. Ensure pipes slope downward for water flow. Check the P-trap for debris and clean it. Proper drainage avoids water backup and bad smells. Always verify drainage after installation.

Credit: www.youtube.com
Frequently Asked Questions
How Do I Remove An Old Kitchen Sink Safely?
Turn off the water supply first. Disconnect plumbing and drain pipes carefully. Use a utility knife to cut sealant around the sink edges. Lift the sink gently to avoid damage. Always wear gloves and protective eyewear during removal.
What Tools Are Needed To Replace A Kitchen Sink?
You need a wrench, screwdriver, plumber’s putty, utility knife, bucket, and adjustable pliers. A silicone sealant and new sink clips help secure the sink. Having a flashlight and towel handy can assist during plumbing disconnections.
How Long Does It Take To Replace A Kitchen Sink?
Replacing a kitchen sink usually takes 2 to 4 hours. Time varies based on sink type and plumbing complexity. Experienced DIYers may finish faster. Proper preparation and careful removal speed up the process.
Can I Replace A Kitchen Sink Without Professional Help?
Yes, if you have basic plumbing skills and tools, you can replace it yourself. Follow safety steps and instructions carefully. For complex plumbing or gas connections, consider hiring a professional plumber.
Conclusion
Replacing a kitchen sink can seem hard at first. Take your time and follow the steps carefully. Gather all tools and materials before starting the work. Turn off the water to avoid leaks or spills. Removing the old sink is easier with patience.
Installing the new sink fits better when measurements are right. Check all connections to stop water from dripping. Clean the area once done to keep your kitchen neat. With practice, this task becomes simpler and faster. You can improve your kitchen without calling a plumber.