
If you’re wondering how to caulk a kitchen sink, you’re not alone. Caulking around your kitchen sink is an essential task to prevent water damage, leaks, and mold growth. The seal around the sink can break down over the years, allowing water to seep through and cause substantial damage to the cabinetry and countertop beneath the sink. Not only does proper caulking improve the appearance of your sink area, but knowing how to caulk a kitchen sink properly helps protect your kitchen from costly repairs.
First, gather the tools and supplies you’ll need for the job: a caulk gun, high-quality silicone caulk, painter’s tape, utility knife and damp cloth. Silicone caulk would be best for kitchen sinks, because it’s flexible enough to withstand sink movement, it’s watertight and corresponds to mold. Ensure all sink-area surfaces are immaculate before starting. With a utility knife, scrape off old caulk or garbage; then wipe the surface with a wet cloth to ensure it is dry and clean.
Tape the edges of the sink and the countertop, then ended up neat, straight lines. This ensures a salon-worthy shine and prevents messy application. Fill a caulk gun with silicone caulk, then blow a line of caulk around the edge of the sink, squeezing the gun as you travel the length of the sink. Lay on the caulk, then use either a damp finger or a smoothing tool to create a clean, even bead.
Remove the painter’s tape last, before the caulk dries. For proper bonding and best water resistance, allow the caulk to cure for at least 24 hours before using the sink. Let’s take a look at just how you can caulk a kitchen sink in simple steps and protect your kitchen from water damage.
Contents
- 1 How to Caulk a Kitchen Sink: Easy Tips for a Leak-Free Finish
- 2 Why Caulking a Kitchen Sink is Important
- 3 Tools and Materials Needed for Caulking Your Kitchen Sink
- 4 Step-by-Step Guide on How to Caulk a Kitchen Sink
- 5 Common Mistakes to Avoid When Caulking a Kitchen Sink
- 6 Maintaining Your Kitchen Sink Caulk
How to Caulk a Kitchen Sink: Easy Tips for a Leak-Free Finish
You’re not the only one asking how to caulk a kitchen sink. An important sign to protect your countertop, cabinets, and floor from a water damage is: caulking your kitchen sink. Exposure to water, temperature fluctuations, and just regular wear and tear over the years can cause the caulk around your sink to deteriorate. Caulking your kitchen sink helps prevent leaks that can lead to the formation of mold and costly repair work. Fortunately, caulking your kitchen sink is a simple chore that can save you a lot of trouble. In this easy-to-follow guide, we will walk you through the steps of sealing your sink with silicone caulk in the right way. Whether you’re a DIYer or a novice, our tips ensure that your sink will be damage-free and water-tight for many more years to come.
Caulking your kitchen sink is a simple but important household task to avoid leaks and water damage. By following simple guidelines listed above, you can achieve a professional, leak-free results in no time. Keep in mind — good caulking is what not only protects your kitchen, but also keeps it looking pristine. So to save your kitchen sink, gather your supplies, heed the advice, and take action now.
Why Caulking a Kitchen Sink is Important
Proper caulk around your sink is the secret to a dry, clean and sanitary kitchen. If the caulk breaks down or wears away, water could seep under the sink and create major problems, like staining or wood rot, and potentially growing mold. Knowing how to caulk a kitchen sink could prevent leaks that would lead to these costly repairs.
What’s more, caulking your kitchen sink leaves it looking nice. Over time, dirty or damaged caulk can give your kitchen a rundown look. Properly installed sink caulking not only ensures that your kitchen surfaces remain intact, but also gives a neat and chic finish. Silicone caulk is most commonly used for kitchen sink caulking as it is flexible, water-resilient, and tough.
With regular maintenance and proper application, the caulking around your sink will last for many years and can protect your kitchen and investment from damage.
Tools and Materials Needed for Caulking Your Kitchen Sink
Before you start caulking your kitchen sink, ensure you have the right tools and supplies at your disposal for a smooth and effective process. You will need the following:
- Silicone Caulk: Pick a high-grade, water-sensitive silicone caulk devoid of any mold. Such a flexible and perfect kind of caulk would be found in kitchen sinks and other surfaces exposed to water.
- Caulk Gun: Silicone not only requires a basic caulk gun, but even with it, applications depend on consistency and efficacy.
- Painter’s Tape: Painter’s tape is an essential tool for creating straight lines and protecting surrounding areas from excess caulk.
- Utility Knife: This is to smooth up rough edges and to remove old caulk, thus making it easier to apply new caulk.
- Damp Cloth: When you are applying it, you will need a towel to smooth out the caulk and wipe off the surface.
- Caulk Smoothing Tool: Even a caulking professional can’t get a seamless finish unless they spread the caulk evenly along the edges of the sink. A caulk smoothing tool, which could be as simple as using your wet finger, can do the trick.
When it comes to caulking, the proper tools in your toolkit are essential to ensure the job is done correctly the first time.
Step-by-Step Guide on How to Caulk a Kitchen Sink
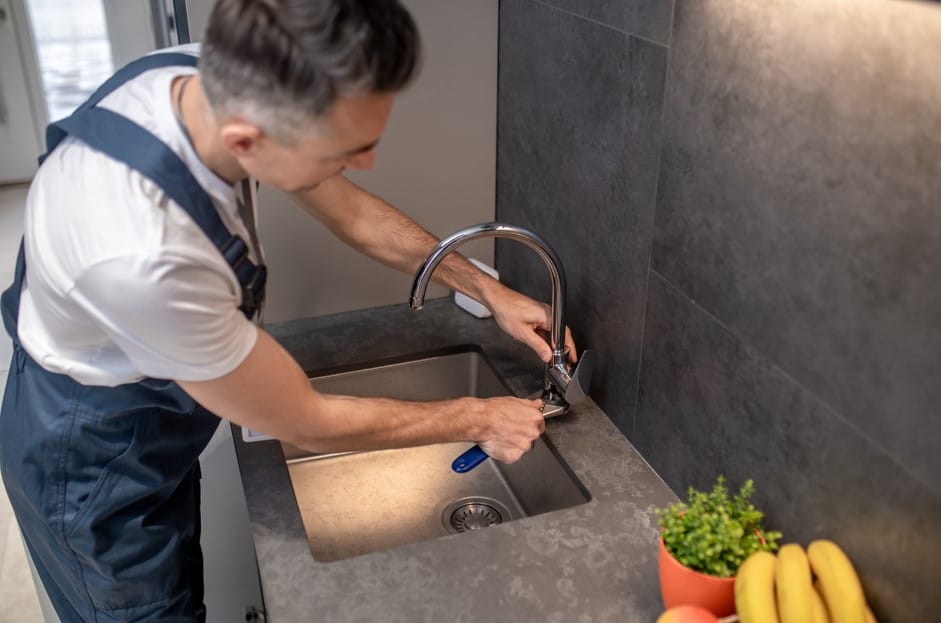
Preparing the Sink Area
Before applying caulk you will start to clean around the sink. Use a utility knife or a caulk remover tool to cut away all old caulk. And make sure to use a damp cloth to wipe the surface clean of dirt, grime, and any leftover debris. If it is damp, let it dry completely before moving forward. Cleaning the sink area well allows the new caulk to stick properly.
Applying the Caulk
When the surface is prepared, load silicone caulk into the caulk gun. Start at one corner of the sink and run a steady bead of caulk around the perimeter. Next, you will want to hold the caulk gun at a 45-degree angle and gently squeeze the trigger to apply an even amount of caulk. Move around the sink while making sure you don’t put too much caulk down at once. Slow, even caulk application helps avoid gaps and excess caulk.
Smoothing and Finishing
Then use a wet rag or your finger to smooth the caulk into a nice, even bead. This makes the caulk bond better and looks more professional. If necessary, you may want to go over the bead once more to make sure it is even and smooth. Once you’re satisfied, remove the painter’s tape right away, before the caulk starts to set, providing clean edges.
Let the Caulk Cure
Do not use the sink until the caulk has had sufficient time to cure . This allows the caulk time to adhere properly and create a waterproof seal. If you want it to be effective, cure the caulk to give you the best protection against leaks and / or water damage.
Common Mistakes to Avoid When Caulking a Kitchen Sink
Avoid common mistakes that can diminish a caulking job’s effectiveness when capping a kitchen sink. Here are some general rules:
- Not Cleaning the Surface Properly: If you do not cleanse the surrounds of the sink completely, the caulk may not stick correctly and thus may form leaks and gaps.
- Over-Application of Caulk: Over use of caulking can give a messy look. Only apply as much as you need to bring a smooth, even bead around sink edges.
- Using the Wrong Type of Caulk: If you use any other kind of caulking, ensure it’s silicone caulk to make sure to have a waterproof seal. Acrylic caulk or some other type may not protect kitchen sinks.
- Removing Tape Too Late: Remove painter’s tape immediately after smoothing the caulk to ensure crisp, clean lines.
If you avoid these mistakes, you will have a professional looking, leak-proof caulking job lasting for years.
Maintaining Your Kitchen Sink Caulk
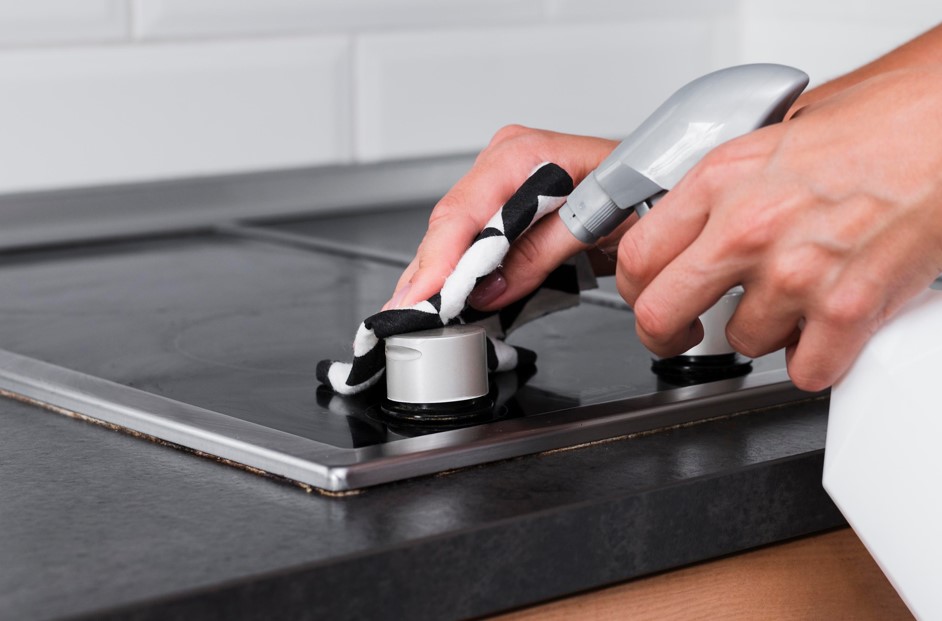
After your kitchen sink has been correctly caulked, you must maintain the caulk in place to ensure it continues to function. Regular sink cleaning will help prevent mildew and mold from developing. To maintain a clean caulk line, wipe the area with a damp cloth or a light cleaner, taking care not to hurt the caulk.
Regularly taking a glance at the caulk also makes one see the wear and tear. If you discover any cracks or gaps, you may need to re-caulk your kitchen sink. Kitchen sink caulking should normally be redone every 3 to 5 years, depending on how well it holds up over time. Caring for the caulk helps keep your sink looking new and protects from water damage.