Are you ready to give your kitchen a fresh, functional upgrade? Installing a kitchen sink might seem tricky, but with the right steps, you can do it yourself and save time and money.
Imagine having a sink that fits perfectly and works just the way you want. In this guide, you’ll discover easy, clear instructions that make the process simple—even if you’ve never done it before. Keep reading, and by the end, you’ll feel confident to tackle your kitchen sink installation like a pro.
Your dream kitchen is just a few steps away!
Contents
Choosing The Right Sink
Choosing the right kitchen sink matters a lot for your cooking space. It affects how you work and how your kitchen looks. This choice depends on your style, space, and daily needs. Picking a sink that fits well will make your kitchen more practical and pleasant.
Types Of Kitchen Sinks
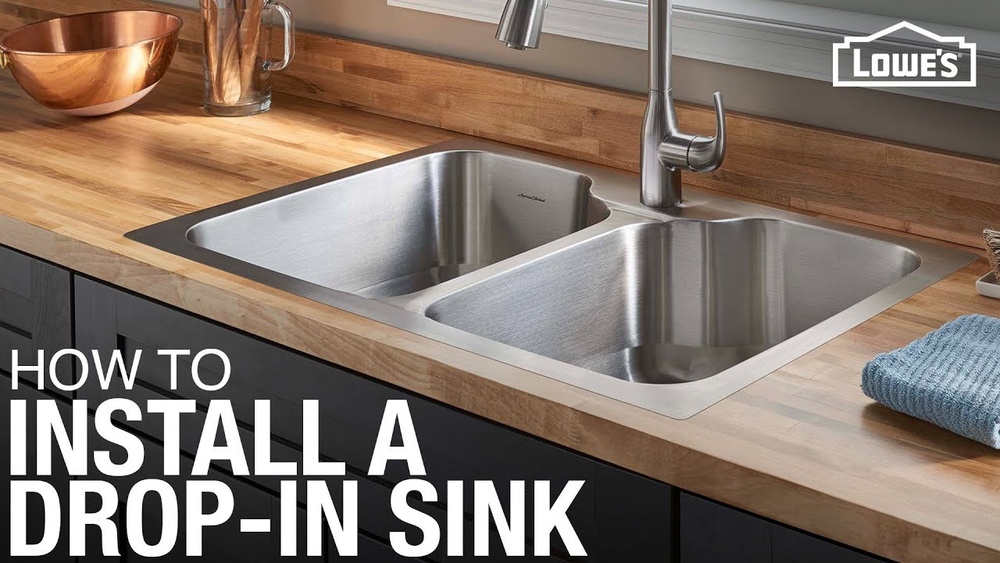
There are many sink types to pick from. Single bowl sinks offer one large space for washing. Double bowl sinks have two sections for multitasking. Farmhouse sinks show a big front and add charm. Undermount sinks install below the countertop for a clean look. Each type suits different kitchen styles and tasks.
Materials And Finishes
Sinks come in many materials. Stainless steel is strong, easy to clean, and common. Porcelain sinks offer a smooth, classic look but can chip. Granite composite sinks resist scratches and stains. Copper sinks add warmth and fight bacteria naturally. Pick a finish that matches your kitchen’s style and resists damage well.
Measuring Your Space
Measure the area where you want to put the sink. Check the countertop size and cabinet space. Note the depth and width to avoid fitting problems. Also, consider the faucet and accessories space. Proper measurements ensure your sink fits and works well in your kitchen.
Gathering Tools And Materials
Before you start installing a kitchen sink, gather all necessary tools and materials. This step saves time and prevents interruptions during the job. Having everything at hand makes the process smoother and faster. Prepare your workspace with all essentials ready.
Essential Tools
Gather basic tools for the installation. You need a wrench to tighten bolts and nuts. A screwdriver helps with mounting brackets and fittings. A utility knife cuts sealant or tape. A tape measure ensures correct placement. A bucket collects water from pipes during removal.
Plumbing Supplies
Collect plumbing parts needed for your sink. A new drain assembly connects your sink to the pipes. Flexible water supply lines link the faucet to water valves. Plumber’s putty seals the drain and prevents leaks. Teflon tape wraps around pipe threads to secure joints. Check the sink model for specific parts.
Safety Gear
Protect yourself during the installation. Wear gloves to avoid cuts and scrapes. Safety glasses shield your eyes from debris. Use knee pads for comfort when working low. Ensure good lighting in your workspace. Safety gear helps prevent accidents and injuries.
Preparing The Area
Preparing the area is the first step for a smooth kitchen sink installation. A clean, safe workspace helps avoid mistakes and delays. Follow these steps carefully before placing the new sink.
Turning Off Water Supply
Start by shutting off the water supply valves under the sink. This stops water flow and prevents leaks. If no valves exist, turn off the main water supply for the house. Open the faucet to drain any remaining water in the pipes.
Removing The Old Sink
Detach the plumbing connections carefully. Use a wrench to loosen nuts on the drain and water lines. Remove the sink clips or screws holding the sink in place. Lift out the old sink gently to avoid damage to the countertop.
Cleaning The Countertop
Clear all debris, old sealant, and dirt from the countertop surface. Use a scraper for stuck-on material, then wipe with a damp cloth. A clean surface ensures a strong seal and proper fit for the new sink.

Credit: heartlandplumbingtx.com
Installing The New Sink
Installing a new kitchen sink is an important step in kitchen renovation. It requires careful handling and precise work. This part focuses on placing the sink correctly, sealing it well, and securing it firmly. Follow these steps for a smooth installation.
Positioning The Sink
Start by placing the sink into the countertop hole. Make sure it fits snugly without gaps. Align the edges evenly with the countertop surface. Check if the sink sits flat and stable. Adjust the position slightly to ensure a perfect fit.
Applying Sealant
Remove the sink and clean the edges of the hole. Apply a thin, even bead of silicone sealant around the rim of the sink. This sealant prevents water from leaking under the sink. Carefully press the sink back into place. Wipe away any excess sealant with a damp cloth before it dries.
Securing The Sink
Use mounting clips or brackets supplied with your sink. Attach them underneath the countertop to hold the sink tightly. Tighten screws evenly to avoid tilting the sink. Check the seal one more time for gaps. Let the sealant dry for the recommended time before using the sink.
Connecting The Plumbing
Connecting the plumbing is the next step after placing your kitchen sink. This process joins the faucet and drain pipes to the water supply and waste system. Proper connections ensure water flows smoothly and prevents leaks.
Attaching The Faucet
Start by securing the faucet to the sink. Insert the faucet through the holes on the sink deck. Tighten the mounting nuts underneath the sink using a basin wrench. Connect the hot and cold water supply lines to the faucet. Use plumber’s tape on the threads for a tight seal.
Connecting Drain Pipes
Attach the drain pipes to the sink drain. Fit the drain tailpiece into the drain opening. Connect the P-trap to the tailpiece and the wall drain pipe. Tighten all slip nuts by hand, then give a slight turn with pliers. Ensure all parts align properly without gaps.
Checking For Leaks
Turn on the water supply slowly. Watch all connections carefully for drips or wet spots. Tighten any loose fittings if you see leaks. Run water for a few minutes to confirm everything stays dry. Fix leaks immediately to avoid water damage.

Credit: www.youtube.com
Final Touches
After installing your kitchen sink, the final touches ensure it works well and looks neat. These steps help you finish the job with care and precision. Proper finishing protects your sink and extends its life.
Cleaning The Area
Remove any debris or dust around the sink. Wipe the countertop and sink edges with a damp cloth. Clean away excess sealant or caulk for a smooth finish. Use a mild cleaner to avoid damage to surfaces. A clean area makes your kitchen look fresh and tidy.
Testing The Sink
Turn on the water supply slowly. Check for leaks around the drain and faucet. Run both hot and cold water to test temperature control. Watch the pipes under the sink for any drips. Fix small leaks immediately to prevent water damage.
Maintaining Your Installation
Regularly check the sink and pipes for wear or damage. Clean the sink with gentle, non-abrasive cleaners. Avoid harsh chemicals that harm the finish and plumbing. Tighten any loose connections to keep the sink secure. Proper care helps your sink last many years.
:max_bytes(150000):strip_icc()/how-to-install-a-sink-drain-2718789_hero_5078-64538f6f90d545c7af0728e4bf8f894e.jpg)
Credit: www.thespruce.com
Frequently Asked Questions
How Do I Prepare My Countertop For Sink Installation?
Clean the countertop thoroughly and remove the old sink. Measure and mark the sink cutout area accurately. Use a jigsaw to cut the countertop. Smooth edges with sandpaper. Ensure the surface is dry before placing the new sink.
What Tools Are Needed To Install A Kitchen Sink?
You will need a jigsaw, adjustable wrench, plumber’s putty, silicone sealant, basin wrench, and screwdrivers. Additionally, have a bucket, tape measure, and safety gloves ready. These tools help you cut, secure, seal, and connect plumbing efficiently.
How Do I Connect The Plumbing To The New Sink?
Attach the faucet and drain assembly first. Use plumber’s putty to seal drain joints. Connect the water supply lines to the faucet. Tighten all connections with a wrench to avoid leaks. Test for leaks by running water through the sink.
Can I Install A Kitchen Sink Without Professional Help?
Yes, with basic tools and careful planning, you can install your sink. Follow instructions step-by-step, ensuring measurements are precise. Take safety precautions, especially when cutting and working with plumbing. If unsure, consult a professional to avoid costly mistakes.
Conclusion
Installing a kitchen sink can save time and money. Follow each step carefully for best results. Check all connections to avoid leaks. Use the right tools to make the job easier. Take your time and work safely throughout the process.
A well-installed sink improves your kitchen’s look and function. You can enjoy a smooth, leak-free sink every day. Simple steps lead to great results. Give your kitchen a fresh, clean upgrade today.