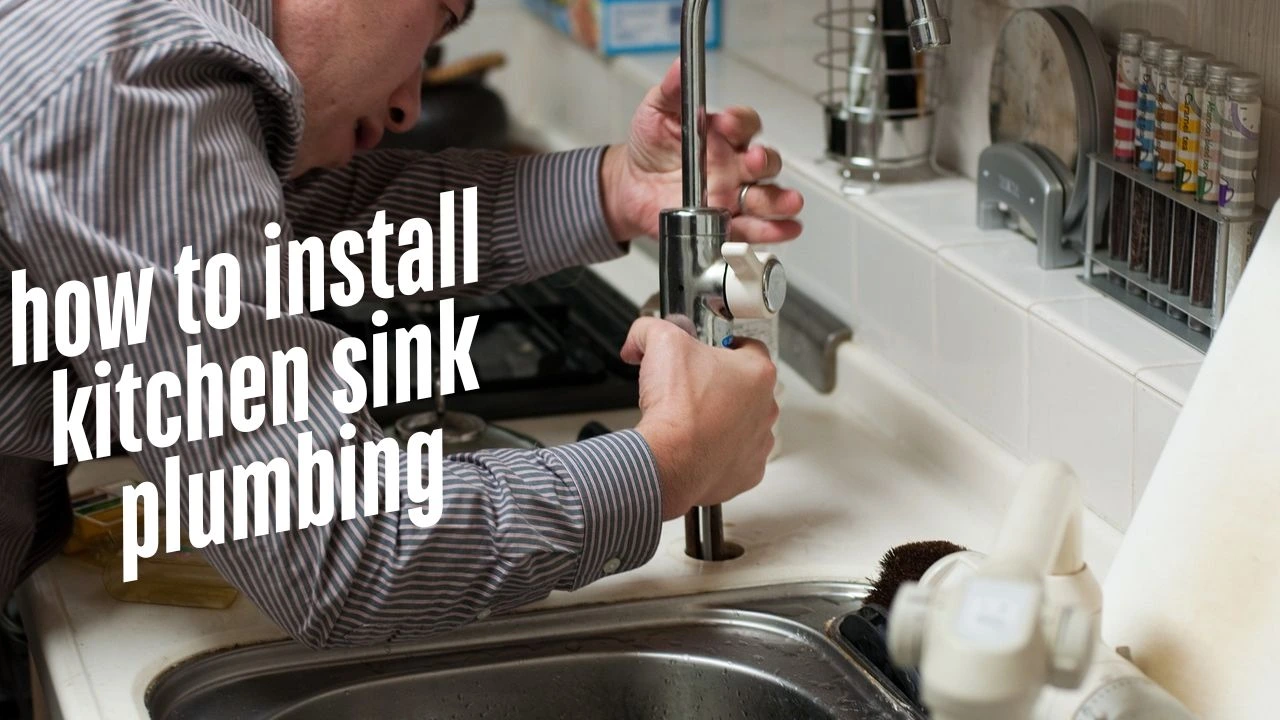
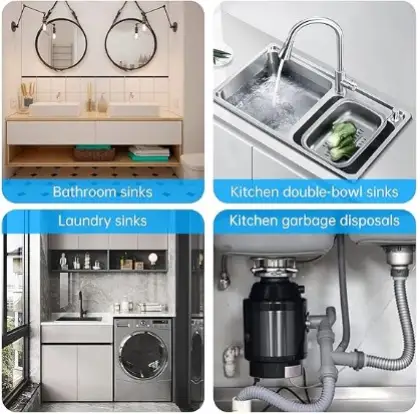
If you wish to enhance the performance of your kitchen, learning how to install kitchen sink plumbing is a crucial skill that can spare you time and money. Our detailed step-by-step guide has you covered through the whole process, meaning it has never been so simple for anyone to tackle! Installing the plumbing for your kitchen sink can be daunting, yet with the right tools and a clear plan, you can complete the project swiftly and efficiently.
Before you begin, make sure you have all the necessary supplies on hand (new sink, new faucet, water supply lines, new drain assembly and plumbing trap). Then, shut off the water supply to avoid accidental leaks as you install. Next, carefully take the old sink and plumbing components out.
The first job is to prepare the new sink for fitting after removing the old one. Install it in position as directed by the manufacturer and allow for the placement of the supply and drain lines. You’ll usually need to drill holes for the faucet and drain.
When you are ready to put the plumbing trap into position, make sure its orientation is appropriate to the wall pipe as well as the drain. You must ensure you won’t damage it and tighten all connections, but don’t go overboard. Once everything is in place, it’s time to test for leaks and turn the water back on.
By following these steps on how to install kitchen sink plumbing that you can follow to ensure a smooth plumbing arrangement. Taking your time and double-checking your work will result in a successful installation. It does take time and effort, but once you get it organized, you will be rewarded with a beautifully functional area in your home.
Contents
How to Install Kitchen Sink Plumbing: A Comprehensive Guide
Kitchen Sink Plumbing Install: A Real Must for Both the Do-It-Yourselfer and the Homeowner This skill will save you money, and make you feel like a success, whether you’re simply replacing an old washbasin or redoing your kitchen. By following this comprehensive guide, you will have all the tools and tips needed to make sure that your kitchen sink plumbing installation is a success.
Materials and Tools Needed
Before starting the installation process, it is absolutely vital to gather the tools or supplies you will need. Here’s what you’ll need:
Materials:
- New kitchen sink
- Faucet
- Drain assembly
- Water supply lines
- Plumbing trap (P-trap)
- Plumber’s tape
Tools:
- Adjustable wrench
- P, screwdriver (flathead and Phillips)
- Pliers
- Plumber’s putty
- Bucket (to catch any water)
Getting all of this taken care of ahead of time will make the process much smoother, and all the delays that can arise from forgetting to do something.
Step-by-Step Installation Guide
While they may look complicated to install, you can install kitchen sink plumbing quickly if you have the right tools and clear instructions. These step by step process help ensure you have a successful installation and work for adding in or swapping out a sink!
1: Gather Your Tools and Materials
Prepare the tools and materials you are going to need before you get started:
Materials:
- New kitchen sink
- Fauceter
- Assembly of drains
- Water delivery channels
- What is a P-trap (also called a plumbing trap)?
- Plumber’s taping
- Plumbers’ putty
Tools:
- Adjustable wrench
- Now that you’re outfitted with your basic tools, what do a flathead and Phillips screw drivers look like?
- Plues
- A bucket to gather any water
2: Turn Off the Water Supply
If you look under your sink, you’ll find the shut-off valves, which you can turn counterclockwise to stop the water from flowing. If there are no valves, shut off the main water supply to your home.
3: Remove the Old Sink
You can have separate plumbing lines when replacing the unit without disconnecting any pipes. Hitch anything left of water in your pail. Start by cutting the incoming water supply pipes, drain the tank and the assembly, pipe, and trap (P-trap) of the plumbers. Finally, pull the old sink straight up away from the countertop.
4: Prepare the New Sink
To ensure a snug fit, position the new sink in the opening. Determine where the drain and supply line points are based on the specs for the sink. If needed, drill holes for the faucet and drain.
5: Install the Drain Assembly
- Apply Plumber’s Putty: Dress a plumber’s putty rope and surround it around the drain hole.
- Insert Drain Assembly: Lower the drain assembly into the sink hole. Make sure it sits correctly.
- Secure the Assembly: From underneath, handly tighten the drain assembly with the locknut.
6: Connect the Faucet
- Position the Faucet: Install the faucet on the sink into the right hole.
- Secure the Faucet: The faucet should sit under the sink its mounting nut.
- Attach Supply Lines: Connect the lines supplying water to the faucet. Ensure they’re snug; try not to overtightened.
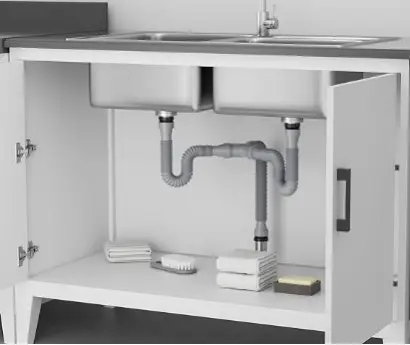
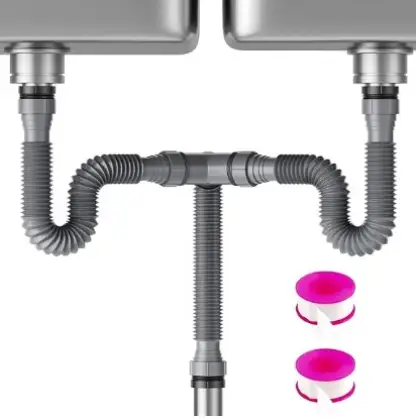
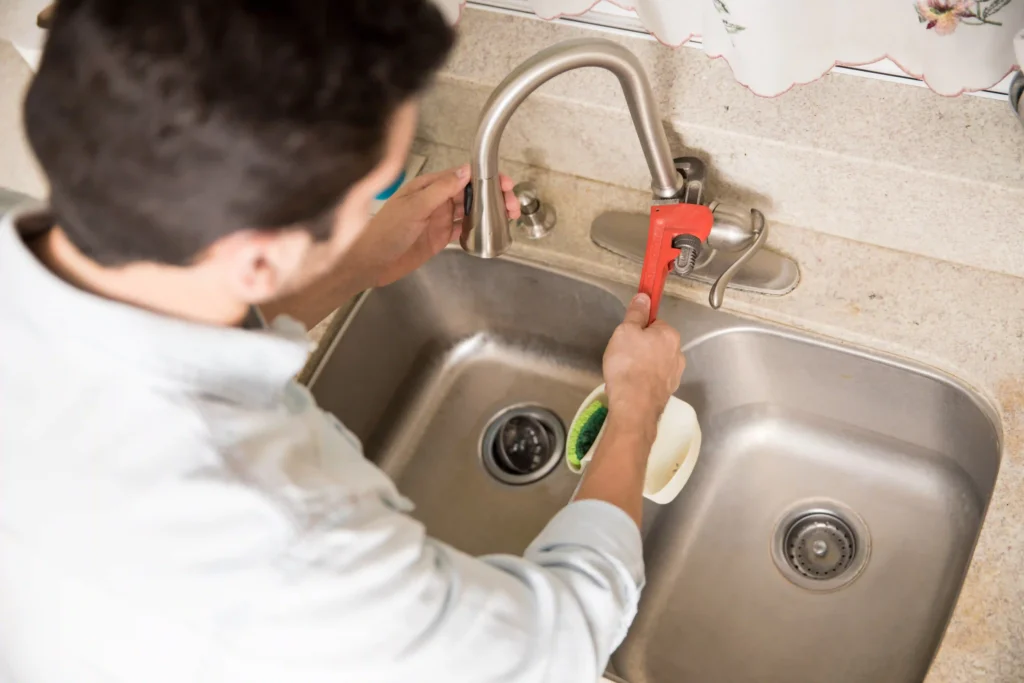
7: Install the P-Trap
- Connect P-Trap: Attach the P-trap to the wall pipe and drain assembly.
- Ensure Alignment: Ensure the connectors are aligned correctly.
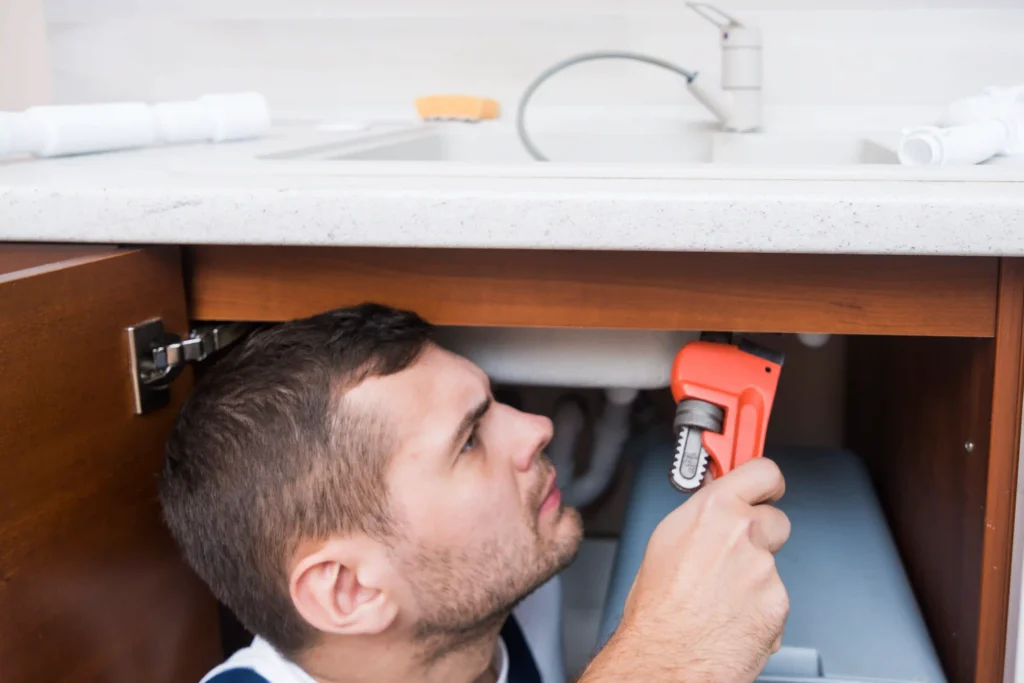
- Tighten Connections: Use your wrench to tighten all connections.
8: Test for Leaks
- Turn On Water Supply: Gradually open the water supply.
- Check for Leaks: Run water through the faucet then check all of the connections for leakage. Loosen any you find and retighten as required.
This step-by-step how to install kitchen sink plumbing guide teaches you to DIY your way to successful completion! Take your time, ensure all connections are tight, and step back to enjoy the sight of a fully operational kitchen sink. In the case of any challenges, feel free to seek help from a professional plumber. Happy plumbing!
Testing:
Once everything else is in place, turn on the water supply and look for leaks. Run water through the faucet and check all connections to ensure no drips or leaks.

Common Mistakes to Avoid
Make Sure to Avoid These Common Mistakes When Installing Kitchen Sink Plumbing:
- Overtightening Connections: Overtightener Connections should be tight but overtight has its corrosive properties. Replaces too strong force with hand-tightening.
- Neglecting to Check for Leaks: Once installed, always be on the lookout for leaks. A small leak can lead to considerable water damage over time.
- Improper Alignment: Ensure every mains component lines up properly throughout install. Misalignment can cause leaks and drainage problems.
By following this guide on how to install kitchen sink plumbing. Enjoy the benefits of a fully operational kitchen sink and the satisfaction of completing a good installation. If you go about it patiently and precisely your kitchen make-over will be a bliss!
FAQs
1.What tools do you need to install kitchen sink plumbing?
The kitchen sink plumbing needs an adjustable wrench, flathead, Phillips screwdrivers, pliers, a plumber’s putty, and a bucket to catch water so the installation succeeds. Having those tools at hand will make installation easier.
2.How long does kitchen sink plumbing installation take?
Installation times will vary with your experience and the complexity of the work. As a do-it-yourselfer, it typically runs two to four hours. If you encounter any unforeseen issues, make extra time.
3.Is it all right to do kitchen sink plumbing myself without expert help?
YES, you can install plumbing for a kitchen sink yourself without the help of a professional if you have some basic plumbing knowledge and the right tools. It’s always a good idea to consult a professional plumber if you’re unsure of any steps or encounter significant problems.
4.What common errors should I look out for when installing kitchen sink plumbing?
Common mistakes are misalignment of the sink and plumbing parts, tightening connections too much, and not searching for leaks after installation. Take the time to make sure everything is done correctly to prevent issues down the road.
5.How do I know if the plumbing under my kitchen sink is built correctly?
After the installation, turn the water supply on and let the water run through the faucet. Ensure proper water drainage and inspect all of your connections for water leaks. If everything is functioning without leaks or drainage issues, your installation is probably accurate.
6.Is plumber’s putty required for installation?
Yes, it is essential when installing a drain assembly. It forms a tight seal, thus preventing leaks between the sink and drain. Apply according to manufacturer instructions for best results.
Conclusion
Believe it or not, Knowing how to properly how to install kitchen sink plumbing is an incredibly handy skill and, believe me, a very powerful experience that can transform your home dramatically. Following these step-by-step guidelines will surely enable you to save money on expert plumbing services while satisfying your urge to finish a do-it-yourself project.
Preparation is extremely important when it comes to installation. Collect everything you will need in advance, including a new sink, faucet, drain assembly and plumbing trap. ++ Preparing will help you move faster and concentrate better on what you do without distractions.
Shut off the water supply during installation to prevent leaks from getting out of control. Remove the old sink and install the new one, again following the manufacturer’s instructions in the letter. Check the joints of the sink and plumbing; proper alignment and snug fittings may help reduce unnecessary leaking.
After the installation phase, Testing is quite essential. Once the water supply is on, turn the faucet to check for leaks. More generally, check all connections to ensure everything works as it should. This could be your opportunity to spot any potential issues before they snowball.
Ultimately by taking on the challenge of the upstairs sink pipe install you not only help your home on the whole and save some cash but also learn a skill that will help with future projects. Your kitchen will be fully operational, and you’ll enjoy the rewards with discipline, attention to details, and instruction from an expert. Prepare your tools and get ready to go on this bountiful journey now!