Are you tired of looking at that old, worn-out kitchen sink every day? Removing your old kitchen sink might seem like a big job, but with the right steps, you can do it yourself and give your kitchen a fresh new look.
Imagine how satisfying it will feel to take control and start your upgrade right from the sink. In this guide, you’ll find simple, clear instructions to help you remove your old kitchen sink safely and easily. Keep reading, and by the end, you’ll be ready to make your kitchen transformation a reality.

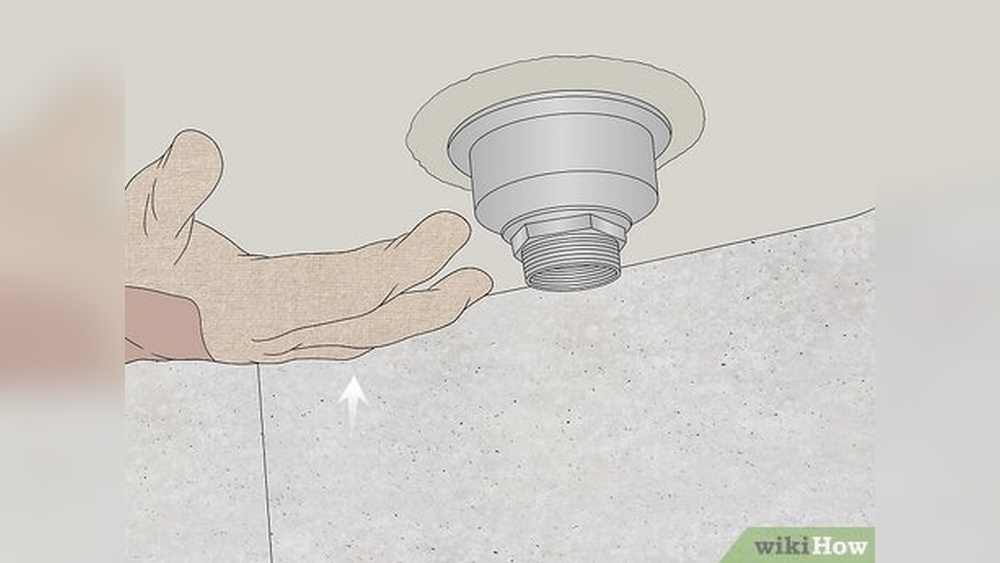
Credit: www.handymanstartup.com
Contents
Prepare Your Workspace
Preparing your workspace is the first step in removing an old kitchen sink. A clean and organized area makes the job easier and safer. It also prevents damage to your kitchen and helps you work faster.
Getting ready means clearing space, gathering tools, and stopping water flow. These tasks save time and avoid problems during the sink removal process.
Clear The Area
Remove all items from under the sink and nearby countertops. This gives you plenty of room to move and store parts. Cover surfaces with a cloth or plastic to protect them from water and dirt.
Make sure the floor is clean and dry. Clear space reduces the risk of accidents and keeps tools within reach.
Gather Necessary Tools
Collect all tools before starting the project. You will likely need a wrench, pliers, bucket, screwdriver, and utility knife. Having tools ready prevents interruptions during work.
Check each tool to confirm it works well. Organize them in one place so you can grab what you need quickly.
Turn Off Water Supply
Locate the water valves under the sink and turn them off. This stops water from flowing and prevents leaks or flooding. Open the faucet to drain any remaining water from pipes.
Double-check that the water is fully off before proceeding. This step protects your kitchen and makes the removal safer.

Credit: www.youtube.com
Disconnect Plumbing
Disconnecting the plumbing is the first important step to remove an old kitchen sink. It stops the water flow and makes the removal safe. Turn off the main water valve before starting. This prevents leaks and water damage in your kitchen.
Remove Drain Pipes
Begin with the drain pipes under the sink. Place a bucket below to catch water. Loosen the slip nuts that hold the pipes together. Carefully pull the pipes apart. Remove the P-trap, which traps debris and prevents sewer gases.
Check the pipes for any water left inside. Empty the water into the bucket. Keep the parts safe if you plan to reuse them. Clean any buildup or debris to avoid clogs later.
Detach Water Supply Lines
Next, disconnect the water supply lines connected to the faucet. Use an adjustable wrench to loosen the nuts. Turn slowly to avoid damaging the fittings. Pull the supply lines away from the valves.
Be ready for small drips of water. Use a towel to wipe any spills. Store the supply lines and parts carefully if you want to reuse them. Now, the sink is ready to be removed safely.
Remove The Old Sink
Removing an old kitchen sink is the first big step in a kitchen update. It might seem hard, but with the right tools and steps, it becomes simple. Focus on each part carefully to avoid damage. Follow these steps to take out your old sink safely and easily.
Loosen Mounting Clips
Start by finding the mounting clips under the sink. These clips hold the sink tightly to the countertop. Use a screwdriver or a wrench to loosen them. Turn the clips counterclockwise until they are free. Keep all clips in a safe place for reuse or disposal.
Cut Sealant Or Caulk
Next, cut the sealant or caulk around the sink edges. Use a utility knife or putty knife for this job. Carefully slide the blade under the sink rim. Cut all around to break the seal. This step helps to lift the sink without pulling the countertop surface.
Lift Out The Sink
After loosening the clips and cutting the sealant, lift the sink gently. Use both hands to raise it slowly. Be careful of sharp edges or leftover water. If the sink sticks, check for missed clips or sealant. Once free, place the sink on a sturdy surface for disposal or cleaning.
Clean The Countertop
Cleaning the countertop is an important step after removing an old kitchen sink. It prepares the surface for the new sink installation. A clean countertop helps the new sink fit well and prevents leaks. Take your time to clear away old sealant and check for any damage.
Remove Old Sealant Residue
Use a putty knife or scraper to gently remove old sealant. Avoid scratching the countertop surface. Apply a sealant remover if the residue is hard to remove. Wipe the area with a damp cloth to clear any leftover bits. Make sure the surface is smooth and clean before moving on.
Inspect For Damage
Look closely at the countertop for cracks or water damage. Check the edges where the sink sat. Small cracks can grow larger if not fixed early. Water damage may cause swelling or discoloration. Repair any issues before installing the new sink to avoid future problems.
Prepare For New Installation
Preparing for a new kitchen sink installation is an important step. It ensures a smooth and successful setup. Taking time to measure and check plumbing saves time and effort later.
Careful preparation prevents common mistakes. It helps you choose the right sink and avoid fitting problems. Start with precise measurements and verify your plumbing system.
Measure Sink Opening
Measure the current sink opening carefully. Use a tape measure for accuracy. Note the width, length, and depth of the cutout in the countertop.
Compare these numbers with the new sink’s size. The new sink must fit the opening without gaps. If the sink is smaller or larger, you may need countertop changes.
Check Plumbing Compatibility
Inspect the plumbing pipes and connections under the sink. Make sure they match the new sink’s drain and faucet setup. Check pipe sizes and locations.
Confirm that water supply lines align with the new faucet. Any mismatch can cause leaks or require extra plumbing work. Fix plumbing issues before installing the new sink.
Frequently Asked Questions
How Do I Safely Disconnect Plumbing From An Old Kitchen Sink?
Turn off the water supply first. Use a wrench to loosen and remove water supply lines and drain pipes carefully. Have a bucket ready for any water spills. Disconnect the sink from mounting clips or caulk to fully detach it.
What Tools Are Needed To Remove An Old Kitchen Sink?
You need an adjustable wrench, pliers, a putty knife, and a screwdriver. A bucket and towels help manage water spills. Sometimes, a utility knife is required to cut through old caulk or sealant around the sink edges.
How To Remove Stubborn Sink Mounting Clips?
Apply penetrating oil to loosen rusted clips. Use a screwdriver or wrench to unscrew the clips. If clips are corroded, gently tap them with a hammer to break rust bonds. Be careful not to damage the countertop.
What Precautions Should I Take Before Removing A Kitchen Sink?
Always turn off the water supply before starting. Clear the area under the sink for easy access. Protect countertops with a cloth to avoid scratches. Wear gloves and safety glasses to protect your hands and eyes during removal.
Conclusion
Removing an old kitchen sink is simpler than it seems. Take your time and follow each step carefully. Turn off the water and disconnect pipes safely. Use the right tools to avoid damage. Clean the area once the sink is out.
This makes installing a new one easier. A little effort saves you money and stress. Ready for a fresh kitchen look? You can do this!