Are you struggling with a stubborn kitchen sink drain flange that won’t come loose? Removing it might seem tricky, but it’s easier than you think.
Whether you’re fixing a leak or upgrading your sink, knowing how to remove the drain flange correctly can save you time and money. In this guide, you’ll get simple, step-by-step instructions that anyone can follow. Keep reading, and you’ll have your kitchen sink ready for the next fix in no time.
Credit: www.familyhandyman.com
Contents
Tools You’ll Need
Removing a kitchen sink drain flange requires some basic tools. Having the right tools makes the task easier and safer. This section lists the tools you will need for the job. Some tools are essential, and others can help speed up the process.
Essential Hand Tools
A pipe wrench helps loosen tight nuts under the sink. An adjustable wrench works well for different sizes of fittings. A flathead screwdriver is useful for prying or loosening screws. Slip-joint pliers can grip and twist parts that are hard to reach. A bucket or bowl will catch water that might drip during removal. A putty knife helps to scrape away old plumber’s putty around the flange.
Optional Helpful Tools
A flashlight makes it easier to see under the sink. Rubber gloves protect your hands from dirt and sharp edges. A utility knife can cut old sealant or caulk around the flange. A hairdryer softens old putty or sealant, making removal smoother. A small wire brush cleans the flange area before installing a new one. These tools are not required, but make the job quicker and cleaner.
Preparing The Sink Area
Preparing the sink area is an important first step before removing the kitchen sink drain flange. This helps make the job easier and safer. Taking time to organize the space and stop water flow prevents accidents and messes.
Clear space and control the water supply. These simple actions set the stage for smooth work on the drain flange removal.
Clear The Under-Sink Space
Start by emptying the cabinet under the sink. Remove all cleaning supplies, tools, and other items. This gives you enough room to move and work freely.
Clearing space reduces the chance of knocking things over. It also helps you see the plumbing clearly. Wipe the area if it is dirty or wet. A clean workspace keeps tools and parts from slipping.
Turn Off Water Supply
Locate the water valves under the sink. Usually, there are two: one for hot water and one for cold water. Turn both valves clockwise to shut off the water.
Check if the water stops by turning on the faucet. No water should come out. Turning off the supply prevents leaks and water damage while you work.
Disconnecting The Drain Pipes
Disconnecting the drain pipes is a key step in removing the kitchen sink drain flange. It allows you to work safely and prevents water spills. Taking your time here helps avoid damage to pipes and fittings.
Loosen The P-trap
Start by loosening the P-trap under the sink. Use a wrench or pliers to turn the slip nuts counterclockwise. The P-trap holds water to block sewer gases, so be ready for some water to spill out. Place a bucket underneath to catch any drips.
Remove Drain Pipes Carefully
Once the P-trap is loose, gently pull it away from the drain pipes. Check for any remaining water and empty it into the bucket. Carefully detach the other drain pipes connected to the sink. Keep the pipes and nuts in a safe place for reassembly.
Removing The Drain Flange
Removing the drain flange is a key step when fixing or replacing your kitchen sink drain. It connects the sink to the drain pipe below. Over time, it can get stuck due to rust, grime, or old plumber’s putty. Careful removal keeps your sink safe and ready for a new drain flange or repair.
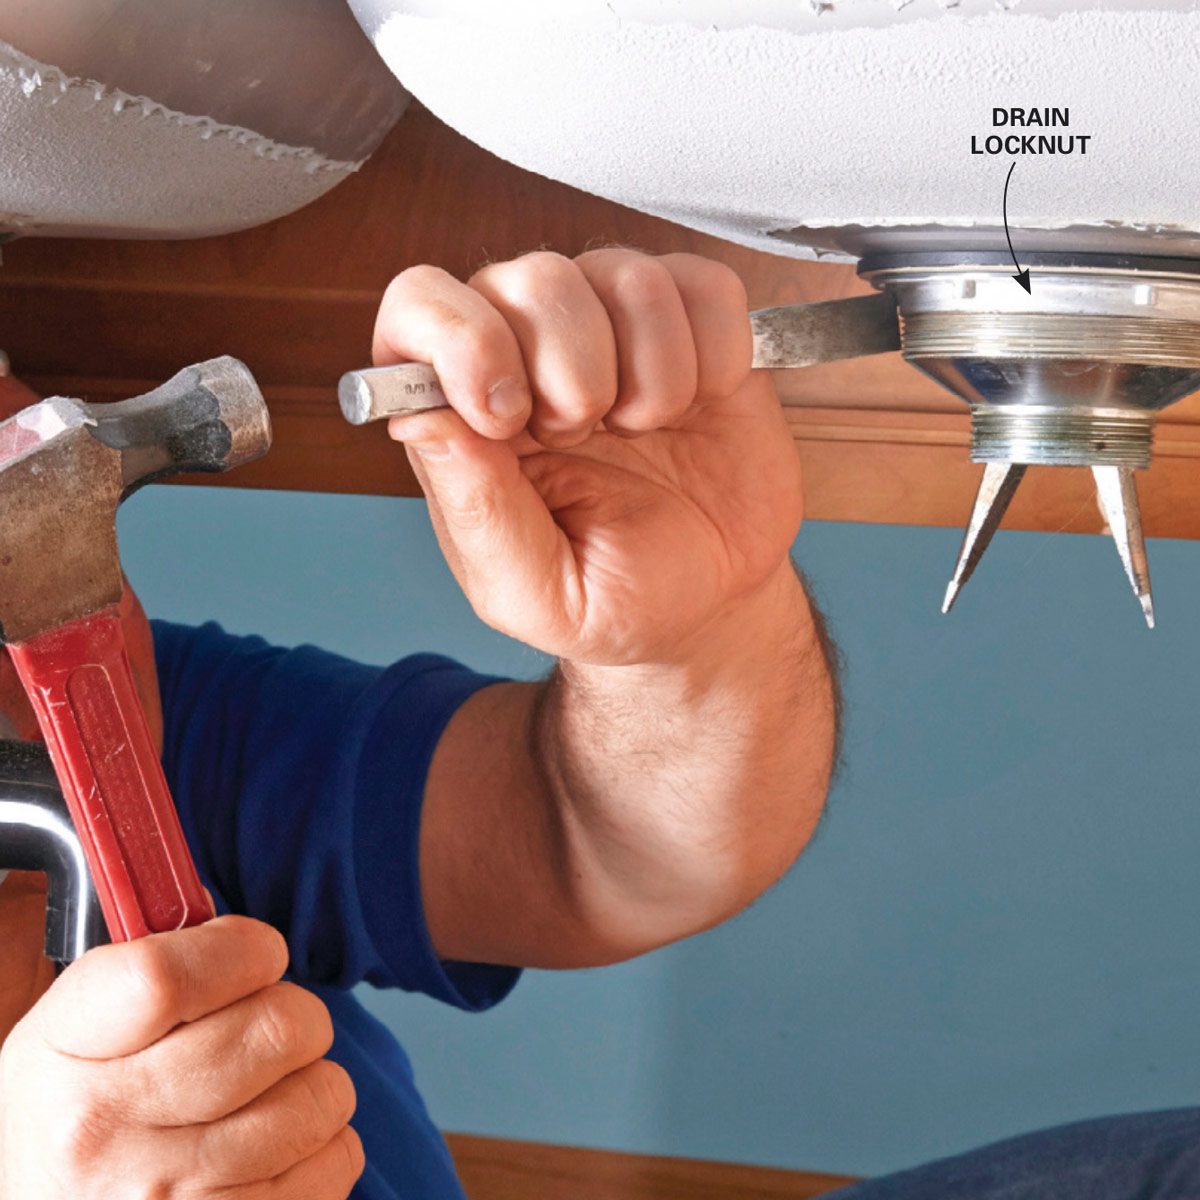
Loosen Mounting Nut
Start under the sink. Find the mounting nut holding the flange in place. Use a pipe wrench or adjustable pliers to turn it counterclockwise. The nut may be tight. Apply steady pressure. If it won’t budge, try spraying some penetrating oil. Let it sit for a few minutes. Then try again. Avoid forcing the nut to prevent damage.
Separate Flange From Sink
Once the mounting nut is loose, the flange will lift easily. Push down from the top side of the sink. Wiggle the flange gently to break the seal. Use a putty knife to scrape away old plumber’s putty or sealant. Clean the edges well. Removing all residue helps with a smooth flange replacement later. Handle the flange carefully to avoid bending or cracking it.
Cleaning The Sink Surface
Cleaning the sink surface is a key step before installing a new drain flange. Dirt, old putty, and sealant can stop the new flange from fitting properly. A clean, smooth surface helps create a tight seal. This prevents leaks and keeps your sink working well. Follow the steps below to prepare your sink surface carefully.
Remove Old Putty Or Sealant
Start by scraping off old putty or sealant around the drain hole. Use a plastic scraper or putty knife to avoid scratching the sink. Work slowly and gently to remove all residue. For stubborn spots, apply a little rubbing alcohol or mineral spirits. Let it sit for a few minutes, then scrape again. Clean the area with a damp cloth to remove any leftover chemicals.
Prepare Surface For New Flange
Once the old putty is gone, dry the surface completely. Use a clean cloth to wipe away dust and debris. Check the sink surface for any chips or rough patches. Sand these areas lightly with fine-grit sandpaper. This creates a smooth, even base for the new flange. Make sure the drain hole edges are clean and dry before applying new putty or sealant.

Credit: www.wikihow.com
Tips To Avoid Common Issues
Removing a kitchen sink drain flange can be tricky without the right approach. Small mistakes can cause damage or leaks. Follow these simple tips to avoid common problems during and after removal. Careful handling and proper sealing make the process smoother and safer. Keep these points in mind for the best results.
Handling Stuck Or Rusted Parts
Rust and buildup often make drain flanges hard to remove. Start by applying a rust remover or penetrating oil. Let it sit for 10-15 minutes to loosen the parts. Use a wrench or pliers with steady pressure. Avoid forcing the flange to prevent damage. Tap gently with a rubber mallet to break rust seals. If stuck, try heating the flange slightly to expand the metal. Always wear gloves to protect your hands.
Preventing Leaks After Replacement
Leaks usually happen because of poor sealing. Clean the sink surface thoroughly before installing a new flange. Remove old putty, grime, and debris completely. Apply plumber’s putty or a silicone sealant evenly around the flange base. Tighten the flange nut carefully, avoiding over-tightening. Check the drain pipe connection for tightness. After installation, run water to test for leaks. Fix any drips immediately to avoid water damage.

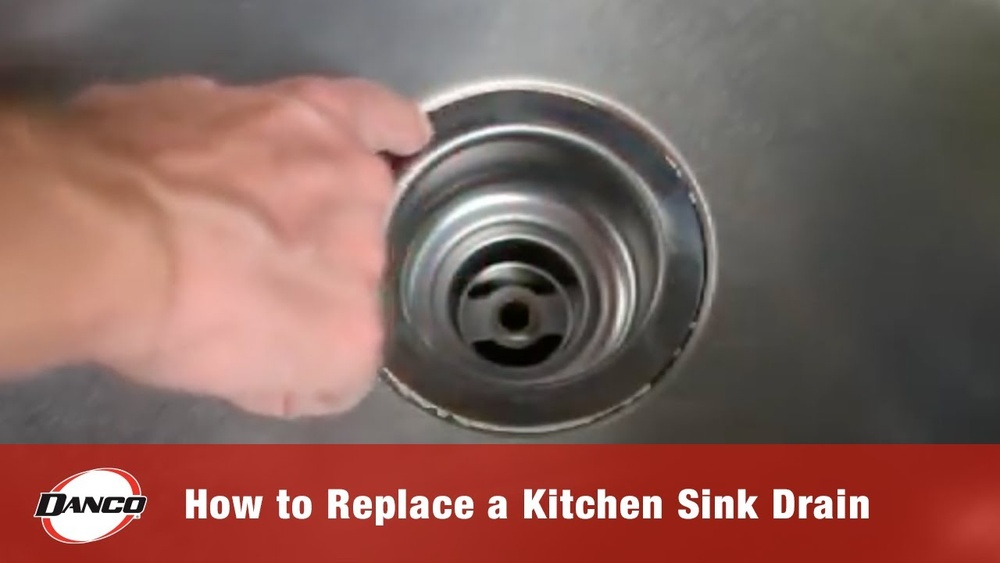
Credit: www.youtube.com
Frequently Asked Questions
How Do I Remove A Kitchen Sink Drain Flange Safely?
Start by disconnecting the drain pipes under the sink. Use a wrench to loosen the locknut securing the flange. Gently pry the flange with a putty knife to break the seal. Lift the flange out carefully to avoid damaging the sink surface.
What Tools Are Needed To Remove A Sink Drain Flange?
You will need a wrench, plumber’s putty knife, bucket, and gloves. A flashlight can help you see under the sink. Having a towel handy is useful to clean any water spills during removal.
Can I Remove A Sink Drain Flange Without Damaging The Sink?
Yes, use a putty knife to gently loosen the flange seal. Avoid using excessive force, which can chip the sink surface. Work slowly and carefully around the flange edges to protect the sink finish.
Why Is My Kitchen Sink Drain Flange Stuck?
The flange may be stuck due to hardened plumber’s putty or corrosion. Mineral deposits can also cause it to adhere tightly. Applying a penetrating lubricant can help loosen the flange before removal.
Conclusion
Removing a kitchen sink drain flange can be simple with the right steps. Take your time and follow each part carefully. Use the proper tools to avoid damage. Clean the area well before installing a new flange. This keeps your sink working properly and stops leaks.
Fixing the drain flange yourself can save money and give you confidence. Keep safety in mind and ask for help if needed. Now, you are ready to handle this small but important repair.