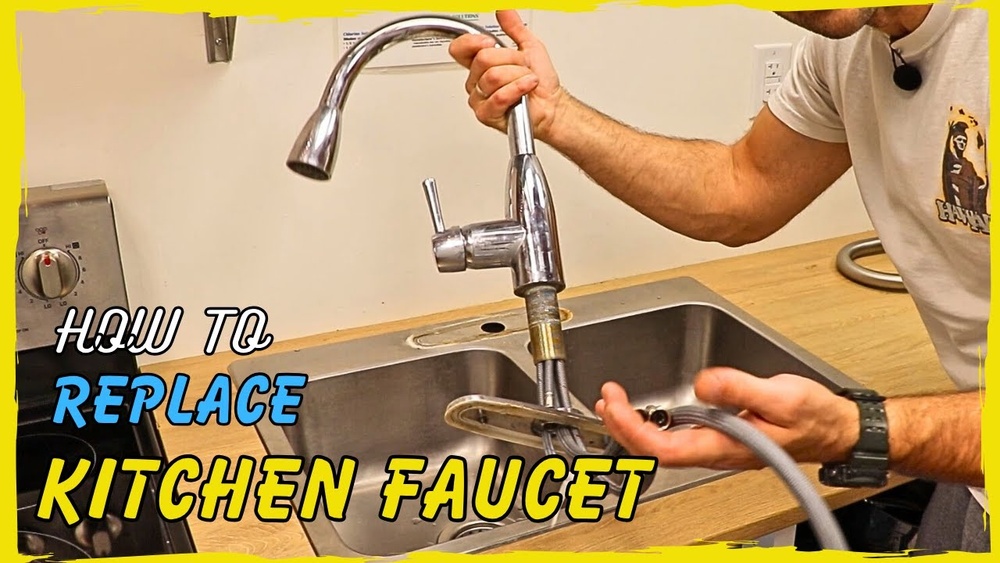
Replacing your kitchen sink faucet might sound tricky, but it’s easier than you think. Imagine saving money by doing it yourself and giving your kitchen a fresh new look in just an afternoon.
Whether your old faucet is leaking, outdated, or just not working right, this guide will walk you through every step clearly and simply. You’ll get tips that save time and avoid common mistakes, so you can feel confident and proud of your work.
Ready to upgrade your kitchen without the hassle? Keep reading, and you’ll have your new faucet installed before you know it.

Credit: smart.dhgate.com
Contents
Tools And Materials Needed
Replacing a kitchen sink faucet is a practical project. Having the right tools and materials makes the process smooth. Preparing everything before starting saves time and frustration.
Essential Tools
You need a few basic tools for this job. An adjustable wrench helps loosen and tighten nuts. A basin wrench reaches hard spots under the sink. Screwdrivers are necessary for removing screws and parts. A bucket collects water during disconnection. A flashlight improves visibility in dark spaces.
Choosing The Right Faucet
Select a faucet that fits your sink and needs. Measure the holes in your sink before buying. Single-handle faucets are easier to use and install. Check the faucet’s style and finish to match your kitchen. Look for models with good water flow and durability.
Additional Supplies
Some extra materials help ensure a leak-free installation. Plumber’s tape seals pipe threads tightly. Silicone sealant prevents water from leaking around the base. New supply lines may be needed if old ones are worn. Clean cloths help wipe away excess water and sealant.
Credit: www.lowes.com
Preparing The Workspace
Preparing the workspace is the first step in replacing a kitchen sink faucet. A clean, organized area helps you work faster and avoid mistakes. Proper preparation protects your kitchen from damage and keeps tools handy. Follow these simple steps to get ready.
Shutting Off Water Supply
Turn off the water supply to stop the water flow. Look under the sink for the shutoff valves. Turn them clockwise until tight. Open the faucet to drain any leftover water. This prevents leaks while you work.
Clearing The Area
Remove items from under the sink and around the faucet. Clear the countertop to give yourself space. Move cleaning products, dishes, and other objects away. A tidy area helps you focus and avoid accidents.
Protecting Cabinets And Sink
Place a towel or cloth inside the sink to catch small parts. Cover cabinet surfaces with old towels or cardboard. This prevents scratches and water damage. Protecting your kitchen saves time and repair costs.
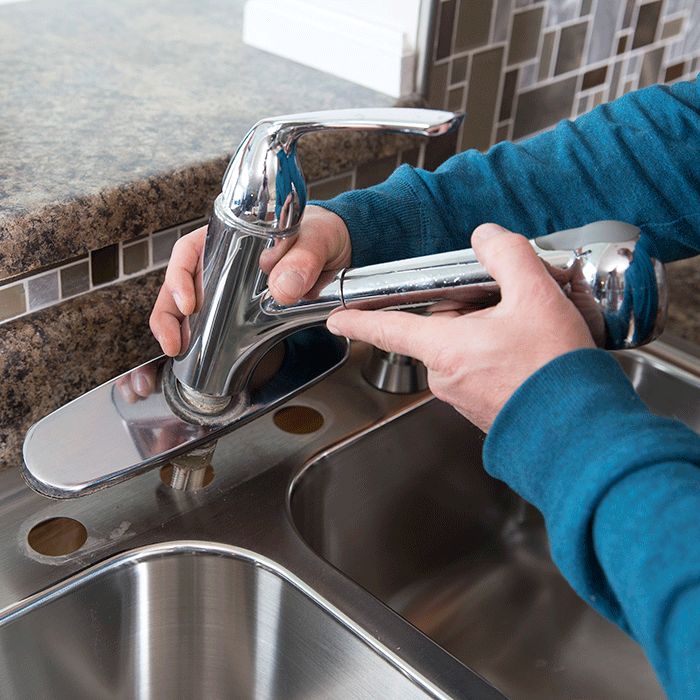
Removing The Old Faucet
Removing the old kitchen sink faucet is the first step in installing a new one. This task needs care and the right tools. Start by preparing the area. Turn off the water supply under the sink. Clear space to work comfortably.
Disconnecting Water Lines
Locate the water supply valves under the sink. Turn them off completely. Use a wrench to loosen the nuts connecting the water lines to the faucet. Have a towel ready to catch any water drips. Carefully pull the water lines away from the faucet.
Unscrewing Mounting Nuts
Look under the sink for the faucet mounting nuts. These hold the faucet tightly in place. Use a basin wrench or adjustable wrench to loosen them. Turn the nuts counterclockwise to unscrew. Keep the nuts in a safe place for later use or disposal.
Lifting Out The Faucet
With the water lines and mounting nuts removed, the faucet should be free. Gently lift the faucet up and out from the sink holes. If it feels stuck, wiggle it slightly to loosen. Clean the sink surface before installing the new faucet.

Credit: www.youtube.com
Installing The New Faucet
Installing the new faucet is the next step after removing the old one. This part requires care to make sure the faucet fits well and works properly. Follow each step carefully for a smooth installation.
Positioning The Faucet
Place the faucet on the sink’s mounting holes. Align it so the handles and spout face the right direction. Check that the faucet sits flat without gaps. This ensures a tight fit and prevents leaks.
Securing Mounting Hardware
Under the sink, slide the mounting hardware onto the faucet tailpieces. Hand-tighten the nuts first to hold the faucet in place. Use a wrench to tighten the nuts firmly. Avoid overtightening to prevent damage.
Connecting Water Lines
Attach the hot and cold water supply lines to the faucet connectors. Tighten the connections with an adjustable wrench. Turn on the water supply and check for leaks. Tighten any loose connections if needed.
Testing And Finishing Touches
After installing your new kitchen sink faucet, it is important to test the setup carefully. This step ensures everything works well and avoids future problems. Small checks now can save big repairs later. Follow these simple steps to finish the job right.
Turning Water Back On
Start by turning the water supply valves back on. These valves are usually under the sink. Turn them slowly to avoid sudden pressure. Watch for water flow from the faucet. It should flow smoothly without strange noises. If water does not come out, check the valves again.
Checking For Leaks
Look closely under the sink for any water drips. Check all connections and joints. Use a dry cloth to spot wet areas easily. Turn the faucet on and off several times. Watch for leaks each time. Fix any leaks by tightening connections gently.
Cleaning Up
Clear the area under the sink of tools and debris. Wipe down the faucet and sink surface. Remove any fingerprints or dirt left from installation. Dispose of old parts and packaging properly. This keeps your kitchen neat and ready for use.
Common Issues And Fixes
Kitchen sink faucets can develop problems over time. These issues can cause inconvenience and water waste. Identifying common problems helps fix them quickly. This section covers usual faucet troubles and easy solutions.
Leaks And Drips
Leaks and drips waste water and increase bills. Often, worn-out washers or seals cause leaks. Replace these parts to stop dripping. Tighten connections under the sink to fix small leaks. Regular checks prevent major water damage.
Low Water Pressure
Low water pressure reduces faucet efficiency. Mineral buildup in the aerator or pipes often blocks water flow. Remove the aerator and clean it with vinegar. Check for clogs in supply lines. Clearing blockages restores strong water flow.
Loose Fixtures
Loose faucets wobble and feel unstable. Tighten mounting nuts under the sink to secure the faucet. Use a basin wrench for hard-to-reach nuts. A stable faucet lasts longer and feels better to use.
Frequently Asked Questions
How Do I Remove An Old Kitchen Faucet?
Turn off the water supply first. Use a wrench to loosen the nuts under the sink. Disconnect water lines carefully. Remove the faucet from the sink. Clean the area before installing the new faucet.
What Tools Are Needed To Replace A Kitchen Faucet?
You will need an adjustable wrench, basin wrench, screwdriver, plumber’s tape, and a bucket. These tools help loosen fittings and ensure a tight, leak-free installation.
How Long Does It Take To Replace A Kitchen Faucet?
Replacing a kitchen faucet usually takes 30 minutes to 1 hour. Time varies based on experience and faucet type. Proper preparation speeds up the process.
Can I Replace A Kitchen Faucet Without A Plumber?
Yes, you can replace a kitchen faucet yourself. Follow step-by-step instructions and use the right tools. Turn off the water supply and work carefully to avoid leaks.
Conclusion
Replacing a kitchen sink faucet can be simple and quick. Follow each step carefully and take your time. Turn off the water before starting to avoid leaks. Use the right tools to make the job easier. Double-check all connections for a tight fit.
You can save money by doing this yourself. Enjoy your new faucet and the fresh look it brings. Don’t hesitate to ask for help if needed. A little effort goes a long way in home improvement.