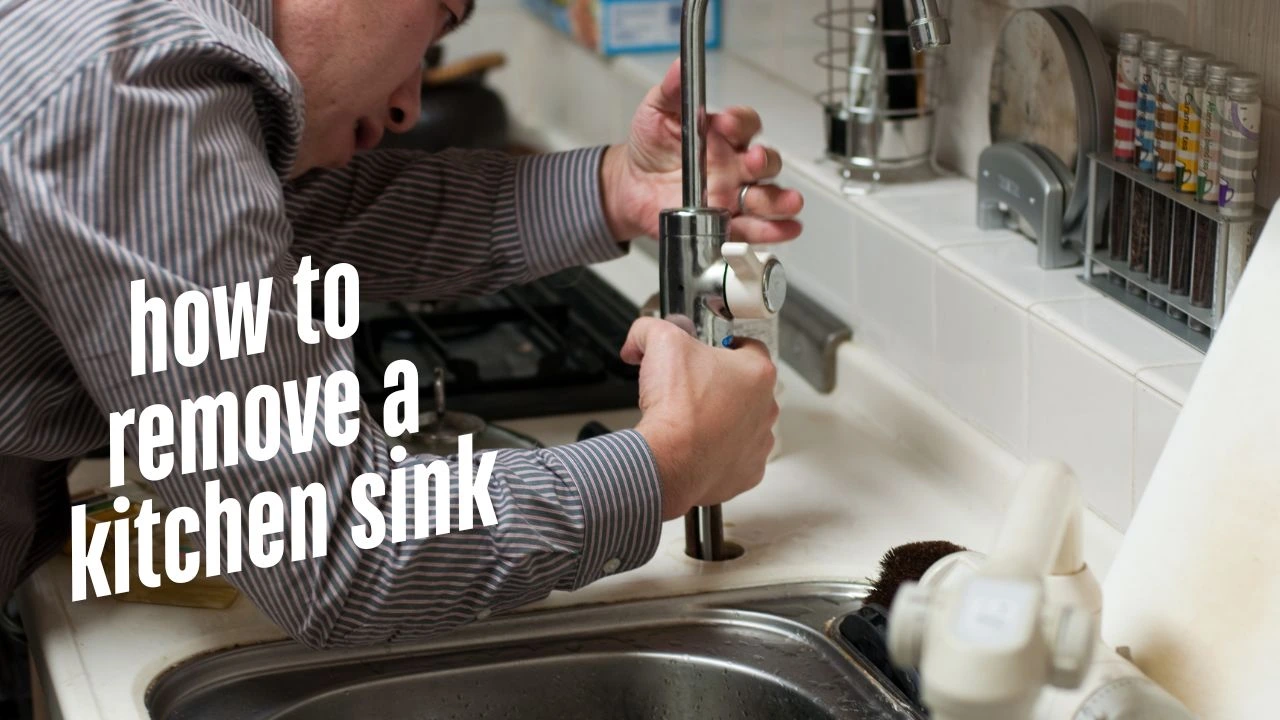
Undertaking a kitchen sink removal project may seem daunting, but with the right tools and approach, the job can be completed relatively quickly. Everything you need to know about how to remove a kitchen sink , from mandatory planning to implementation: whether you are replacing an old sink or upgrading to a new one, the knowledge of the process will save you time and trouble.
You need to use the right tools before getting started. You will need a basin wrench, screwdriver, adjustable wrench, and bucket to catch any remaining water. It is also recommended that you wear gloves and protective eyewear to protect yourself during the process. Following this guide should ensure that your sink will be successfully extracted once your tools are ready.
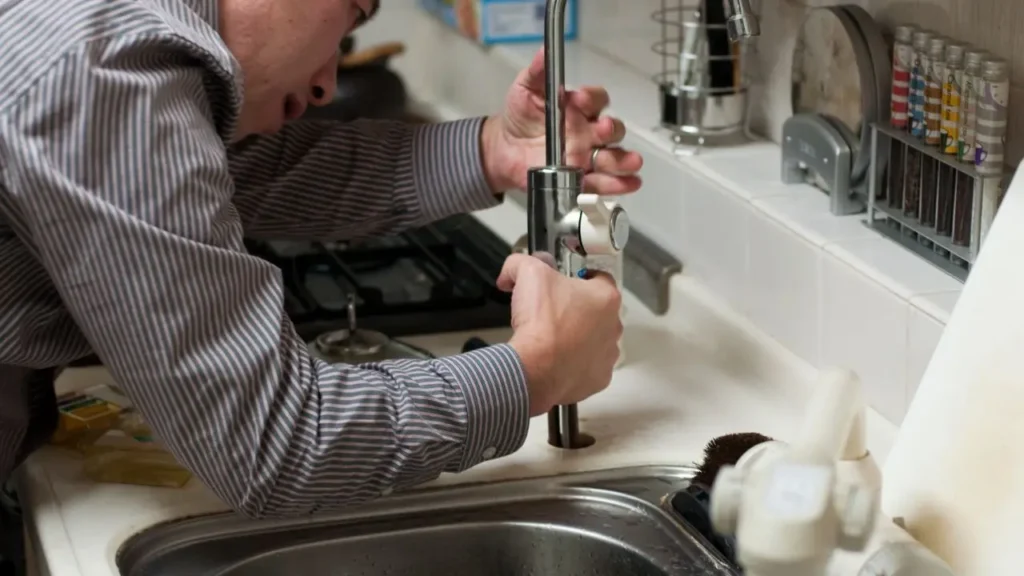
Shut off the kitchen sink’s water supply first. The most crucial stage is to prevent any unexpected flooding. Otherwise, this will complicate the entire extraction operation enormously. Shut the water off, and cut the supply pipes and drain pipe. Loosening the nuts that hold the supply lines to the faucet with your adjustable wrench works because you’ll be turning the nuts away from the end that’s still screwed into the faucet, which means that those supply lines will be lifted. Some water will leak out, so make sure the bucket is positioned under the drain in case of overflow.
Finally, before installing your new sink, clean up and check for any plumbing leaks around the area. Knowing how to properly remove a kitchen sink not only makes your project easier but also gives you the confidence to tackle other plumbing jobs in the future. Right now, you’re on your way to a fabulous kitchen upgrade with this tutorial!
Contents
Preparation for Removing a Kitchen Sink
Before diving into the process of how to remove a kitchen sink , proper preparation is key to ensuring a smooth and successful experience. The first step is gathering all the necessary tools. You’re going to have to join the last water, so you will need a basin wrench, changeable wrench, screwdriver, and bucket. This means you can time your equipment to get them if needed.
You must also prioritize safety. Always wear gloves and safety goggles to protect yourself from accident. Next is turning off the water supply and that’s pretty critical. Reopen the cabinet under your sink, locate the shut-off valves and turn them counterclockwise until they no longer turn. This stage prevents water from leaking into your kitchen during removal.
Once the water supply is cut off, it’s time to clean the under sink area. Remove anything stored there so that you can have a clean work station. Not only will this allow you to walk around freely, but it will also diminish the likelihood of ruining any of your belongings.
Then, beneath the drain pipe, set a bucket to catch any possible spills. Shutting off the plumbing: This step will help you collect any last remnants of water. Study the plumbing (arrangement) and mark where the drain pipe (and supply line) connect to the sink.
If possible, consult the manufacturer’s instructions first. Understanding how your kitchen sink is laid out in specific will be time-saving and can avoid errors. Now that you have all the tools and some safety gear, you’re ready to move on to the next step — actually removing that sink. Here are the preparation guidelines to get you started on your own sink removal project.
Step-by-Step Guide to Removing a Kitchen Sink
Knowing how to remove a kitchen sink can empower you to tackle plumbing projects with confidently. This is a step-by-step, precise guide to help you make it easier:
- Turn Off the Water Supply: You’ll want to do this immediately to prevent floods. Go under the sink, locate the shut-off valves, and turn them clockwise until they stop.
- Disconnect the Drain Pipe: Place a bucket below the drain to catch any water. If using an adjustable wrench, lose the nuts connecting the drain pipe to the sink. Pull gently on the pipe to free it from the sink when loose.
- Disconnect the Supply Lines: If you cannot do this to the water line faucet because it is too tight even with an adjustable wrench, then it is cut with that adjustable wrench, the water line. Disclaimer: there is often residual water in lines.
- Remove Mounting Clips or Screws: Remove Stationary Search for any clips or screws that may be attaching the sink to the countertop. A basin wrench or screwdriver will get them out. Check thoroughly, as any remaining fasteners may hold the sink in place.
- Lift the Sink Out: With everything turned off, gently pull the sink from the countertop. If it seems to be jammed, check for concealed retention devices.
- Clean the Area: When the sink is removed, it can be cleaned out. This will ensure your new sink installation goes smoothly.
Remodeling your kitchen is a daunting task, but these guidelines will help you be on the right path by effectively removing your kitchen sink and preparing your kitchen for the next step in the remodeling process. Such a method ensures a stress-free experience, so your DIY plumbing project will be successful.
Common Mistakes to Avoid When Removing Your Kitchen Sink
Learning how to remove a kitchen sink and avoiding common blunders along the way will save you time and frustration. Here are a few traps to watch for during the eradication process.
One of the most common mistakes is failing to shut off the water supply. To avoid unnecessary flooding, ensure you have turned off the water supply before doing any plumbing repairs. This small step will save you considerable cleanup time.
Another common mistake is not having the right tools at hand. To prepare, gather essential tools — a bucket, adjustable wrench and basin wrench, for starters. Failure to do this step causes delays and annoyance in the eradication process.
Others skip checking for hidden fasteners that may be left attached to the sink. Take your time to check everywhere, particularly underneath the sink, to ensure that everything is reasonably disconnected.
Another error is failing to prepare for spills. When separating pipes, keep a bucket under the drain to capture any remaining water. Your workstation will stay nice and clean as long as you plan for this step.
Finally, improper cleaning of the area after removal can result in plumbing attenuation in the future. If anyone is setting in a new sink, set aside time to clean surfaces and check for plumbing leaks. Avoiding these common mistakes will ensure you navigate the sink removal process and prepare you for your next DIY project.
Expert Tips for a Smooth Kitchen Sink Removal
Successfully learning how to remove a kitchen sink involves more than just following basic instructions, professional tips can enhance your experience and optimize time and effort. The answer(s) below provide helpful information to ensure a smooth sink removal process.
First consider getting a helper. Taking one out might be difficult, especially if a kitchen sink is heavy or firmly mounted. An extra set of hands can help make the procedure quicker and safer.
And then decelerate during the disconnecting stage Doing it in a rush might have damage or error. Cut the water supply lines and drain pipe, making sure not to strip any bolt or fitting. If you mate against resistance, check by looking for hidden screws or clips.
Place tools in easy-to-reach location on your desk out. This company will make your life easier and help you avoid working frustration.
Label them if you plan to reconnect your separated parts and connections later. This step can help ensure that everything goes back together correctly and help prevent confusion when reinstalling.
And finally, document the process with photos. Photos of the plumbing configuration before your sink removal will come in handy when it’s time to install your new sink.
By following this professional advice, you will make the kitchen sink removal project simple and gain more confidence for your next house maintenance task.
Complete Toolkit for Efficient Kitchen Sink Removal
To effectively learn how to remove a kitchen sink , having the right equipment is essential. Here is a complete inventory list of everything you will need for a quick extraction.
- Basin Wrench: This specialized tool, the basin wrench, is used to reach tight spaces while detaching plumbing fittings. It allows you to grab and turn nuts that might be tricky otherwise.
- Adjustable Wrench: An adjustable wrench is versatile and can fit most plumbing connections. Ideal for loosening and tightening supply line nuts.
- Screwdriver: Opening screws which connect the sink towards the countertop calls for a screwdriver. To pull out all stops, one is recommended to have flat-head and Phillips screwdrivers as well.
- Bucket: A bucket is essential for collecting residual water run off of when you disconnect tha drain pipe and supply lines. This stage keeps your workstation clean and prevents spills.
- Safety Goggles and Gloves: You have to protect your absolute self at all prices. While gloves protect your hands from sharp edges and plumbing hazards, safety goggles protect your eyes from debris.
- Towel or Rags: If you are getting rid of the sink, have some towels or rags on hand to wipe up any spillage or to wipe down surfaces.
It will equip you with the necessary tools to get the job done safely and ensure that you can remove your kitchen sink with ease. Keeping the ideal tools close at hand can make the whole procedure much easier and your assurance in dealing with house redecorating projects grow.

Conclusion
In conclusion, learning how to remove a kitchen sink is something you can do to help prepare yourself to perform many do-it-yourself tasks throughout your home. A methodical approach will ensure a smooth and quick operation, whether installing a new sink or making repairs. There are things to do, so the conditions make the success possible, you prepare yourself with the right tools — basin wrench, adjustable wrench, safety gear.
In this guide, we emphasize the importance of preparation, safety, and knowing what procedures are necessary for the removal of sinks. We addressed the key steps to take following these events, such as turning off the water supply, carefully unscrewing plumbing pieces, and accurately removing screws or mounting clips. By slowing down and avoiding common mistakes like forgetting to look for hidden fasteners or missing residual water, you’ll be able to minimize problems and get a good result.
Moreover, the expert advice provided will make your experience better and make the process feel that you are in more control and that it is working more efficiently. You can save time and effort by having a helper, setting up your workstation, and taking pictures of the process. These methods use various ways to ease the removal process, while preparing you for a new sink installation.
Now, not only does mastering this skill upgrade your kitchen, but it also leaves you with some valuable skills under your belt that will make you feel confident and accomplished in your home maintenance journey. So grab your gear and take all the recommendations in this guide to feel comfortable starting your DIY project! This means that your dream kitchen is suffering.
FAQs
- What tools do I need to remove a kitchen sink?
To effectively learn how to remove a kitchen sink , you will need some basic equipment, such as a basin wrench, adjustable wrench, screwdriver, bucket, and safety goggles. It will help speed up and facilitate the removal procedure to have these items in hand.
- How to prepare for removing my kitchen sink?
You will need to prepare how to remove a kitchen sink. First, turn off the water supply; next, clean out the area under the sink and put down a bucket under the drain to catch any drips.
- How do I cut off the piping from my kitchen sink?
To separate the plumbing, first turn off the water. Use an adjustable wrench to loosen the nuts connecting the water supply pipes to the faucet. To remove the drain pipe, unscrew the nuts.
- What are some common mistakes I should avoid when removing a kitchen sink?
Avoid common mistakes like missing hidden fasteners, forgetting to turn off the water supply, or having minimal tools on hand when learning how to remove a kitchen sink.
- Can I remove my kitchen sink by myself, or do I need help?
While you can indeed remove a kitchen sink solo, having an assistant will simplify and make the operation safer. You might even want to coordinate with another person for tool management and sink lifting, especially if the sink is bad or heavy.
- How do I clean up after removing my kitchen sink?
Once you’ve properly removed your kitchen sink, clean the area thoroughly. After you plan a new sink, make sure to clean any space to get rid of garbage and check plumbing for leaks. This step ensures that your workspace is tidy and prepared for the next stage of your project.