
Are you planning to install a new kitchen sink or replace the old one? One key detail you can’t afford to miss is the standard cut out for a kitchen sink.
Getting this measurement right is crucial for a perfect fit and a smooth installation. If the cut out is too small or too big, you could face leaks, uneven surfaces, or costly repairs. You’ll discover exactly what the standard cut out size means, why it matters for your kitchen, and how to measure it easily.
Keep reading to make sure your next kitchen sink fits flawlessly and looks great!
Credit: www.homedepot.com
Contents
- 1 Kitchen Sink Cut Out Basics
- 2 Standard Dimensions For Sink Cut Outs
- 3 Measuring For A Sink Cut Out
- 4 Cut Out Techniques And Tools
- 5 Common Mistakes To Avoid
- 6 Adjusting Cut Outs For Different Sink Types
- 7 Sealing And Finishing The Cut Out
- 8 Tips For A Professional Look
- 9 Frequently Asked Questions
- 10 Conclusion
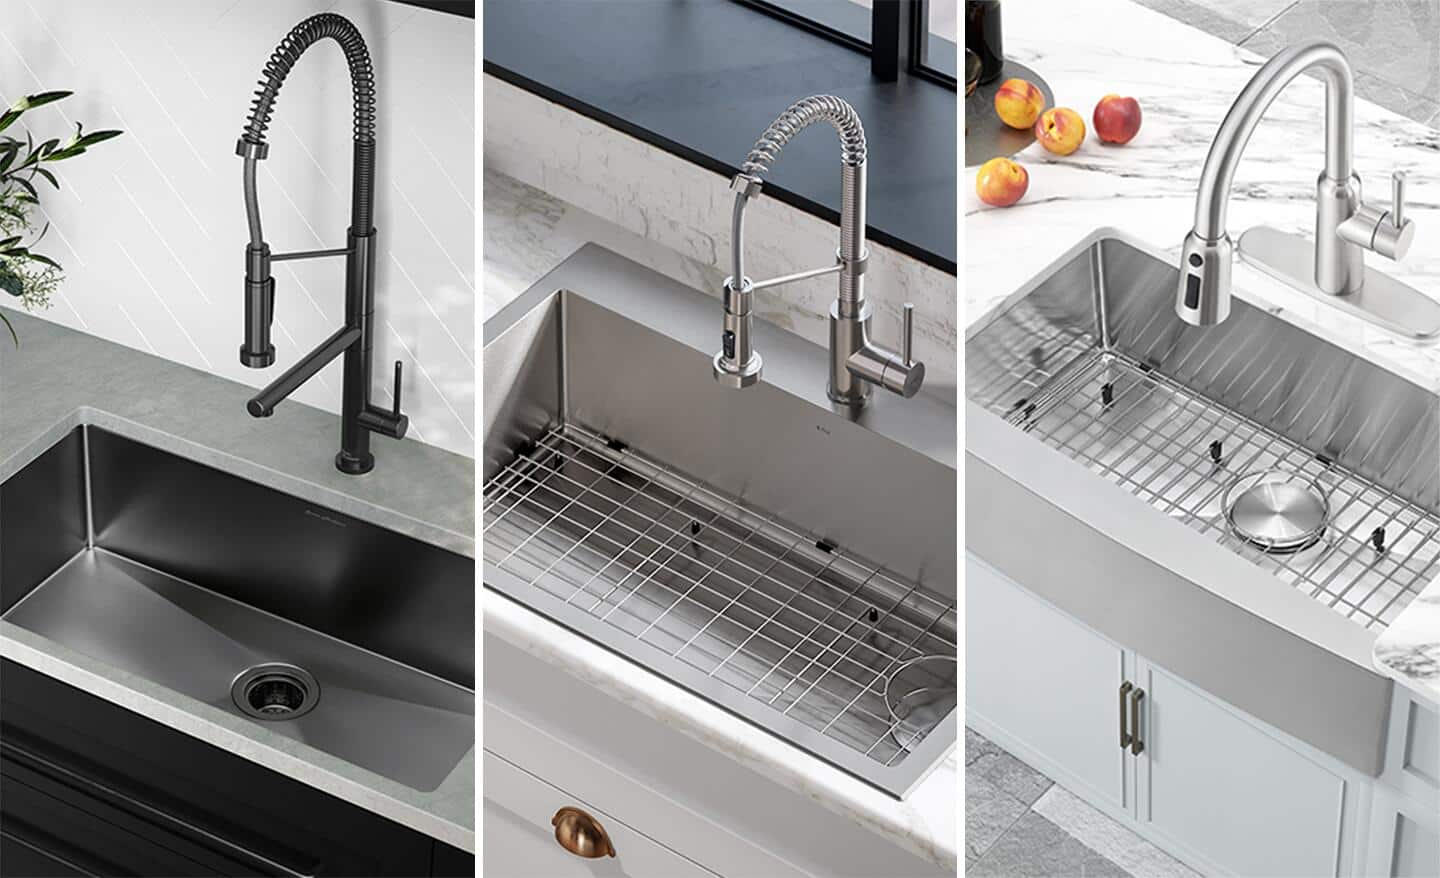
Kitchen Sink Cut Out Basics
The kitchen sink cut out is the hole made in your countertop. It fits the sink perfectly. This cut out must be accurate for proper installation. A wrong size can cause leaks or poor fitting. Understanding the basics helps you choose the right sink and countertop.
Each sink has a standard cut out size. This size varies by sink type and brand. Knowing these sizes makes your kitchen design smoother. It also helps when replacing an old sink.
Typical Cut Out Shapes
Most kitchen sink cut outs come in a few common shapes. Rectangular is the most popular shape. It matches many sink styles and looks neat. Oval or rounded corners are also common. They add a soft look and help with cleaning. Some sinks need custom shapes for special designs.
Common Materials And Thickness
Countertops come in many materials. Granite, quartz, laminate, and wood are common. Each material needs a different cut out approach. Thickness affects how the sink fits. Most countertops are 1 to 1.5 inches thick. Thicker materials need stronger support for the sink. Thin materials may require extra care to avoid cracks.
Standard Dimensions For Sink Cut Outs
Understanding the standard dimensions for kitchen sink cut outs helps make installation easier. Each sink type has common sizes for the hole in the countertop. These sizes ensure the sink fits well and stays secure. Knowing these dimensions helps avoid mistakes and saves time.
Single Bowl Sinks
Single bowl sinks usually need a cut out about 22 inches wide. The length ranges from 30 to 33 inches. Depth varies but most are between 8 and 10 inches. These sinks fit well in small to medium kitchens. They offer a large space for washing big pots.
Double Bowl Sinks
Double bowl sinks require wider cut outs, often 33 to 36 inches. The width is about 22 inches, similar to single bowls. Depth stays around 8 to 10 inches. The two bowls can be equal or different sizes. This style suits kitchens that need more washing space.
Farmhouse And Specialty Sinks
Farmhouse sinks need larger cut outs, usually 33 to 36 inches wide. They often have a deeper basin, around 10 to 12 inches. Specialty sinks come in many shapes and sizes. Their cut outs vary greatly depending on the design. Always check the manufacturer’s guide for exact measurements.
Measuring For A Sink Cut Out
Measuring for a sink cut out is a key step before installing a kitchen sink. Accurate measurements ensure the sink fits perfectly into the countertop. This prevents leaks and damage later on. Taking time to measure properly saves effort and money.
Tools You Need
Gather these tools before starting your measurements. A tape measure is essential for precise dimensions. A pencil helps mark the cutting lines. Use a straight edge or ruler to keep lines even. A level ensures your sink sits flat in the cut out. Have these ready to make the process smooth.
Step-by-step Measuring Process
First, measure the length and width of the sink’s rim. Measure from the outer edge on all sides. Write down these numbers clearly. Next, check the sink’s depth to ensure enough space under the counter. Mark the cut out area on the countertop using the pencil and ruler. Double-check the marks to avoid mistakes. Finally, use the level to confirm the marked area is even. Accurate marks guide a clean, proper cut out for your sink.
Credit: www.homedepot.com
Cut Out Techniques And Tools
Cutting out space for a kitchen sink requires proper tools and techniques. The right method ensures a clean, precise opening. This step is crucial for fitting the sink perfectly into the countertop. Understanding these techniques helps avoid costly mistakes and saves time.
Using Jigsaws And Routers
Jigsaws are popular for cutting kitchen sink openings. They handle straight and curved cuts well. Start by drilling a hole inside the cutout area. This hole allows you to insert the jigsaw blade easily. Use a fine-tooth blade for smooth edges. Move the jigsaw slowly to avoid splintering the countertop.
Routers give a clean, professional finish. They work best with laminate or wood countertops. Use a template to guide the router along the cut lines. This tool trims edges neatly and removes rough spots. Routers require more skill but deliver precise results.
Safety Tips For Cutting
Always wear safety goggles to protect your eyes from dust and debris. Use ear protection because cutting tools can be loud. Keep your hands away from the blade path at all times. Secure the countertop firmly to avoid slipping during cutting. Work in a well-ventilated area to reduce dust inhalation. Take breaks to maintain focus and reduce errors.
Common Mistakes To Avoid
Cutting out the space for a kitchen sink needs care. Small mistakes can cause big problems. Avoid these common errors to ensure a smooth installation. A perfect fit means no leaks and a neat look.
Incorrect Measurements
Measuring wrong is the most common mistake. Even a small error can make the sink not fit. Always use a tape measure and double-check numbers. Measure the sink’s base and add space for fittings. Don’t guess or rush this step.
Ignoring Sink Overhangs
Some sinks have edges that hang over the countertop. Ignoring this can cause the sink to sit unevenly. Check the sink’s design and note any overhangs. Make the cutout slightly smaller if needed. This keeps the sink stable and prevents water leaks.
Neglecting Countertop Material
Different countertop materials need different cutting tools. Hard materials like granite or quartz require special blades. Soft materials like wood or laminate cut easily. Know your countertop type before cutting. This prevents damage and helps make clean edges.
Adjusting Cut Outs For Different Sink Types
Adjusting cut outs for kitchen sinks depends on the sink type. Each sink style needs a different approach to fit properly. Proper cut outs ensure the sink fits securely and looks neat. Measuring and cutting must match the sink’s shape and installation style. Understanding the cut out differences helps avoid mistakes during installation.
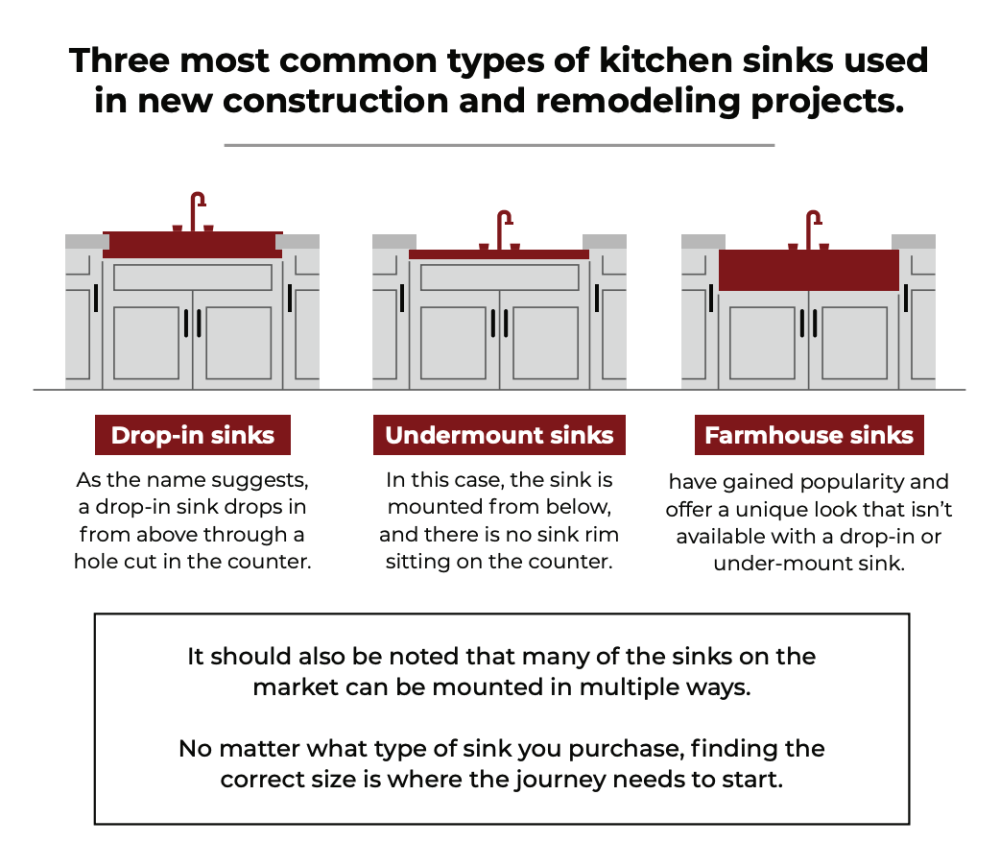
Undermount Vs Drop-in Sinks
Undermount sinks install below the countertop surface. The cut out must be precise and smooth. Edges of the countertop remain visible around the sink. The cut out is usually slightly smaller than the sink rim. This allows the sink to hang under the countertop securely.
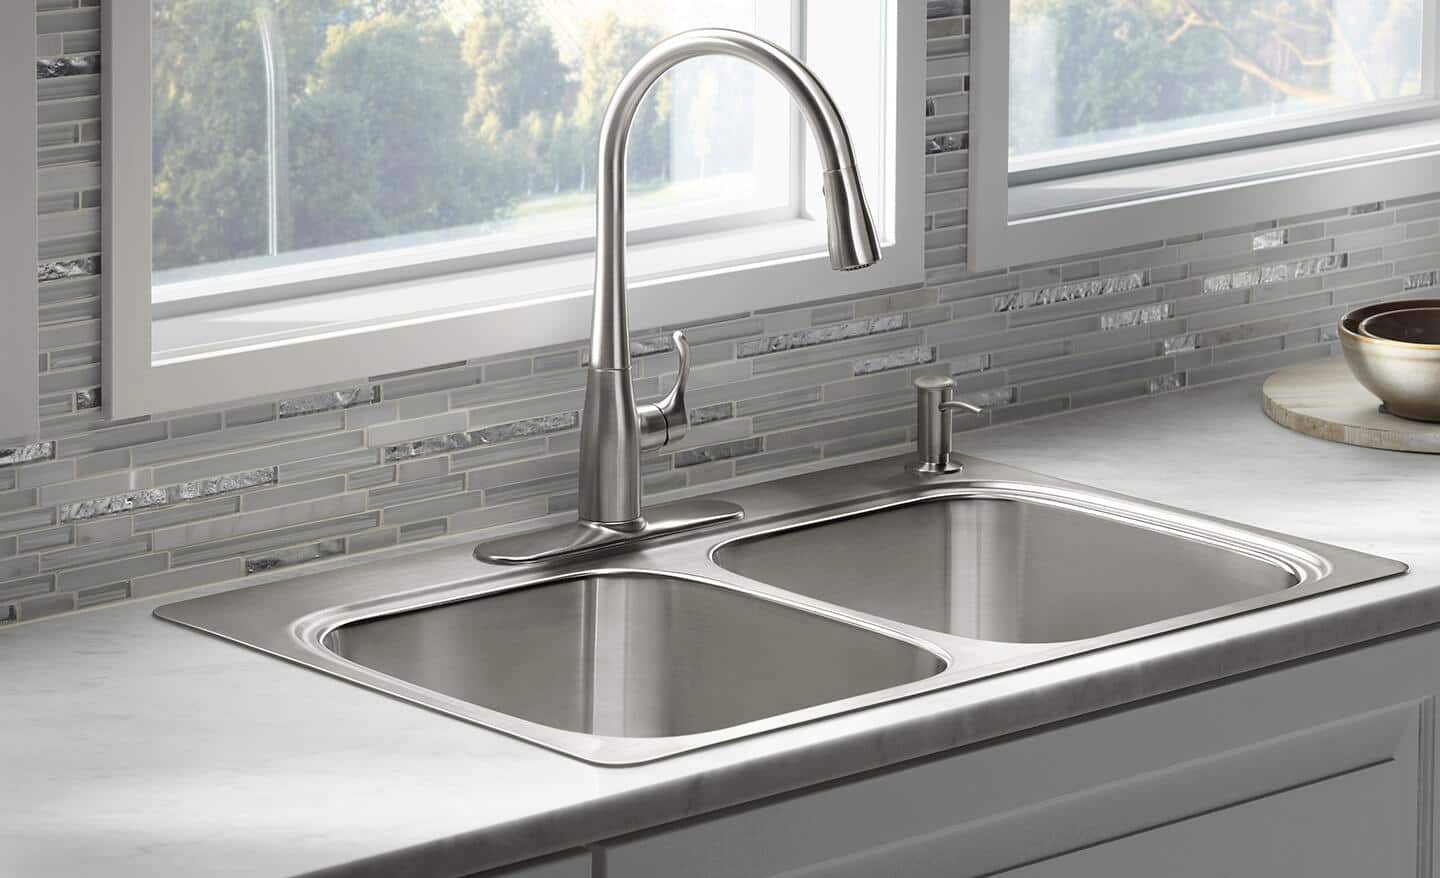
Drop-in sinks sit on top of the countertop. The cut out is larger, matching the sink rim size. The sink rim rests on the countertop surface. This type is easier to install and replace. The cut out shape is simpler, usually a basic rectangle or oval.
Integrated Sinks And Custom Cuts
Integrated sinks blend seamlessly with countertops. They require custom cut outs shaped exactly to the sink. These sinks often come with the countertop as one piece. The cut out process is precise and done during countertop fabrication. Custom cuts can follow unique sink shapes, not just rectangles or circles.
Custom cut outs allow more design freedom. This suits modern kitchens with special sink styles. Accurate measurements and professional tools are necessary. Improper cuts cause gaps or leaks. A well-cut integrated sink improves kitchen appearance and function.
Sealing And Finishing The Cut Out
Sealing and finishing the cut out is an important step in installing a kitchen sink. It protects the countertop and ensures the sink stays firmly in place. Proper sealing prevents water damage and keeps your kitchen clean and dry.
Waterproofing Edges
Start by applying a waterproof sealant around the edges of the cutout. This creates a barrier that stops water from seeping into the countertop. Use a silicone-based sealant for the best protection. Smooth the sealant evenly to cover all gaps and corners. Let it dry completely before installing the sink.
Installing Sink Clips And Sealants
Sink clips hold the sink tightly to the countertop. Attach the clips under the countertop according to the sink’s instructions. After placing the sink, tighten the clips evenly. Apply a bead of sealant between the sink rim and the countertop. This final step locks out water and adds stability to the installation.
Tips For A Professional Look
Achieving a professional look for your kitchen sink starts with attention to detail. Small touches make a big difference. These tips help your sink cut out look clean and stylish. Follow simple steps to boost your kitchen’s appeal and function.
Clean Edges And Smooth Finishes
Cut edges must be neat and smooth. Rough edges catch dirt and look unfinished. Use a fine file or sandpaper to smooth the cutout edges. Wipe away dust before installing the sink. A clean edge creates a sharp, polished look. It also helps the sink fit perfectly without gaps.
Matching Sink And Countertop Styles
Choose a sink style that fits your countertop design. A seamless match makes the kitchen appear well-planned. For example, a stainless steel sink pairs well with granite or quartz counters. An undermount sink blends smoothly with solid surface tops. Matching colors and materials keeps the kitchen cohesive and modern.
Credit: www.worldcoppersmith.com
Frequently Asked Questions
What Is The Standard Kitchen Sink Cut-out Size?
The standard kitchen sink cut-out size is usually 33 to 36 inches wide. Depth ranges from 22 to 24 inches. Always check your sink’s specifications for exact measurements before cutting.
How To Measure a Cut-out For An Undermount Kitchen Sink?
Measure the sink’s base dimensions accurately. Mark the countertop with pencil lines. Allow a 1/2-inch tolerance for fitting adjustments. Follow manufacturer guidelines to ensure a perfect fit.
Can I Customize The Kitchen Sink Cut-out Dimensions?
Yes, kitchen sink cut-outs can be customized. Custom sizes depend on sink design and countertop material. Consult a professional to avoid errors and ensure proper installation.
What Tools Are Needed For a Kitchen Sink Cut-out?
Essential tools include a jigsaw, measuring tape, pencil, and clamps. A drill with a hole saw bit helps start the cut. Safety gear is also recommended.
Conclusion
Knowing the standard cut-out size helps in choosing the right kitchen sink. It makes installation easier and saves time. Most sinks fit a cutout around 33 inches by 22 inches. Always measure your countertop before buying a sink.
This avoids mistakes and extra work later. Proper planning ensures your kitchen looks neat and works well. A good fit means less chance of leaks or damage. Keep these basics in mind for a smooth kitchen update. Simple steps lead to better results.